Step 1: Prepare the Sail and Battens
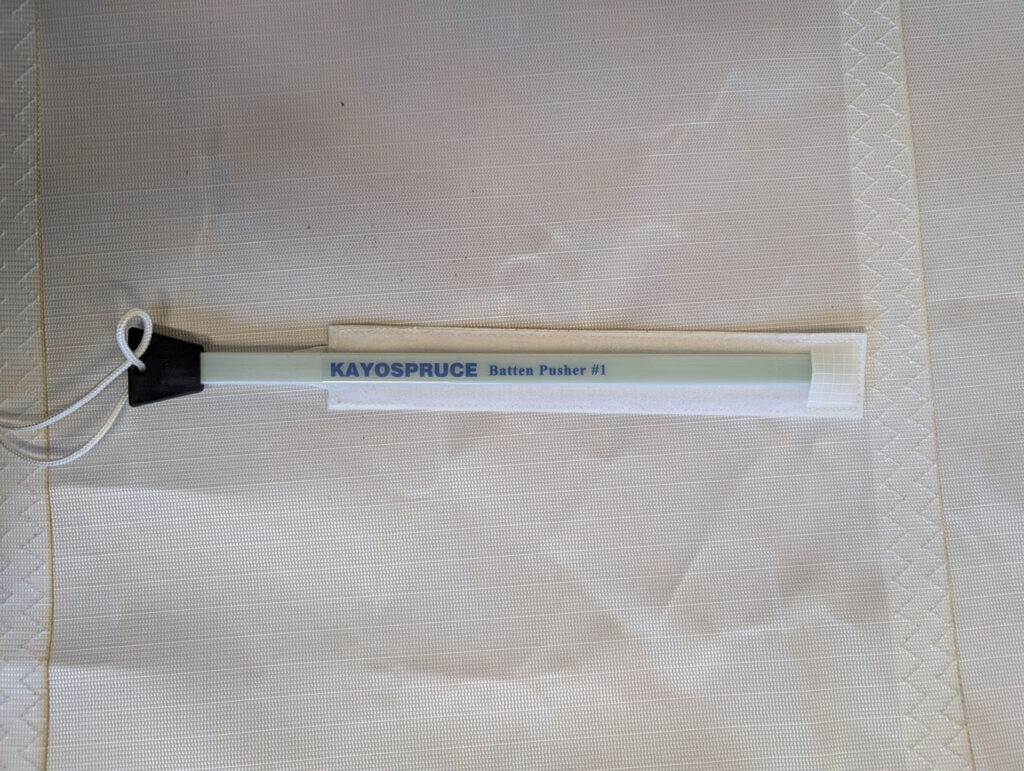
Lay the sail out flat with the batten pockets facing upwards. Identify the Velcro tab and the batten you will be fitting. These battens are symmetrical, so there is no top or bottom orientation – either end can be inserted first. Before you begin, check each batten pocket is clear of any creases or debris, and have the batten loader ready to hand.
Step 2: Insert the Batten
Locate the open end of the batten pocket. With the sail kept flat, slide the batten into the pocket and feed it in smoothly. It should travel to the end of the pocket without needing force. Stop with approximately 150mm of batten still showing – this gives enough length to install the Velcro tab.
Step 3: Prepare the Velcro Tab
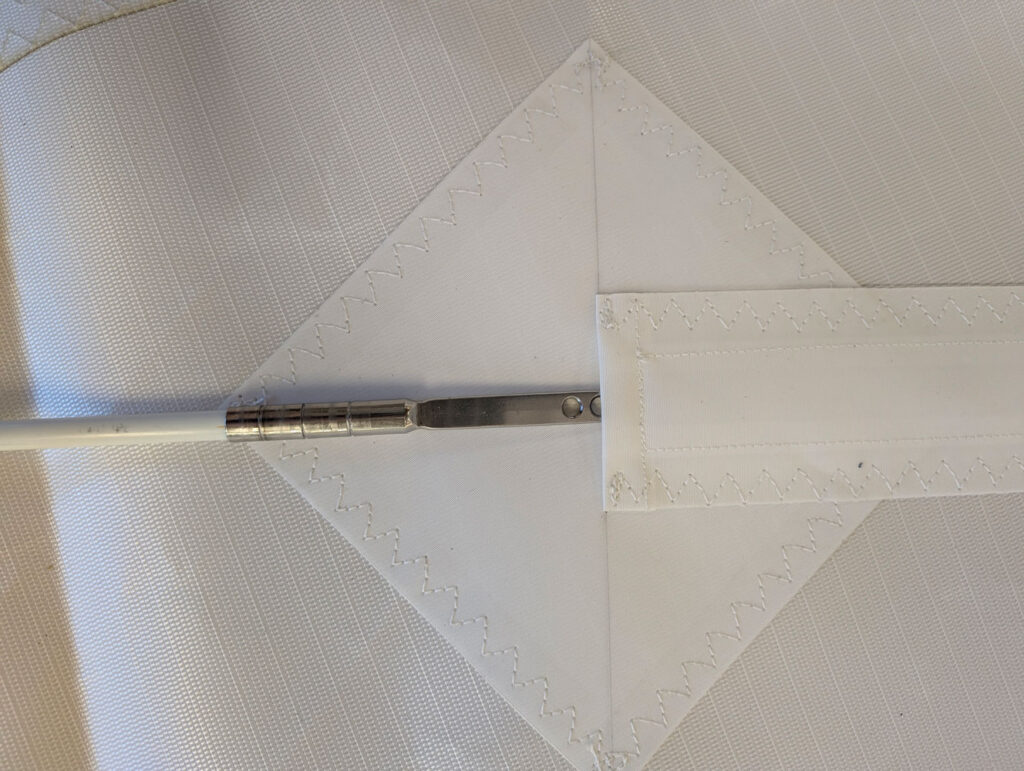
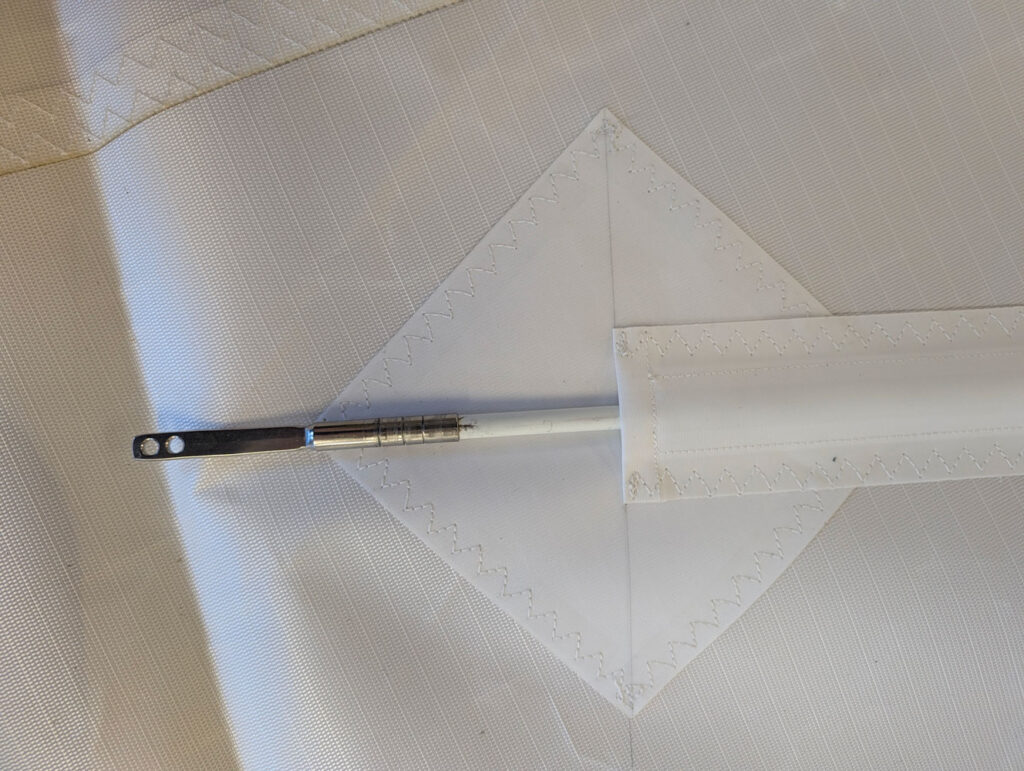
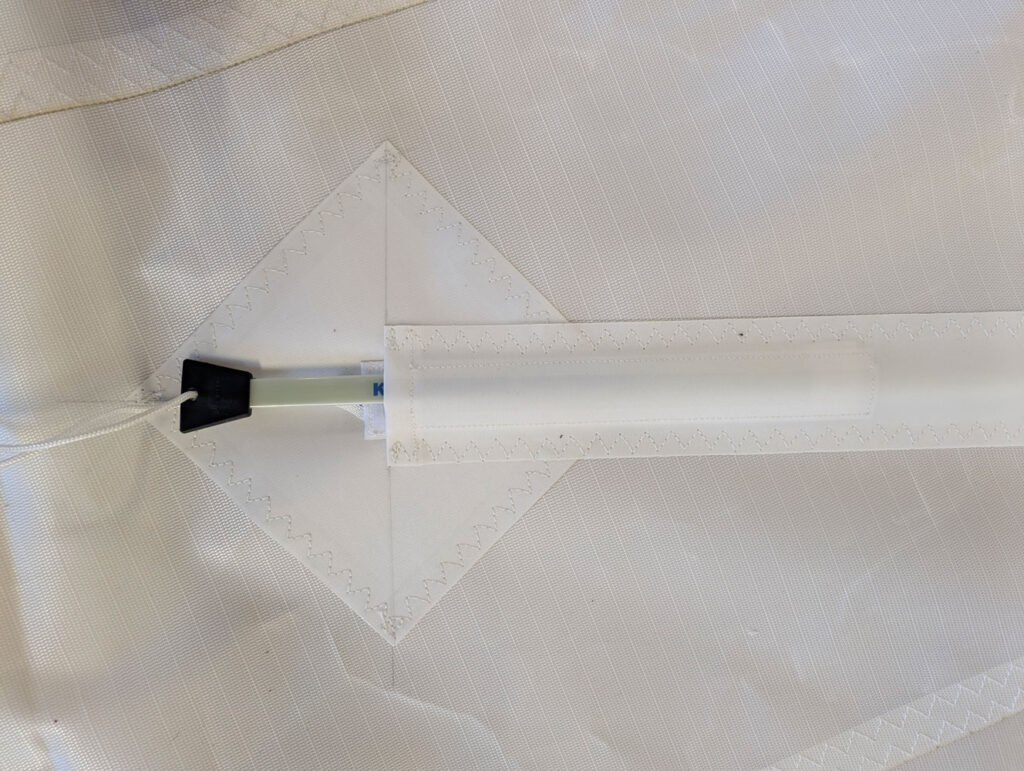
Take the Velcro tab and slide the batten in under the webbing loop. Take the batten loader supplied with your sail and insert it into the opposite end of the Velcro tab with the Velcro facing upwards. You can then slide the Velcro tab, using the batten loader into pocket.
Step 4: Apply Batten Tension and Secure
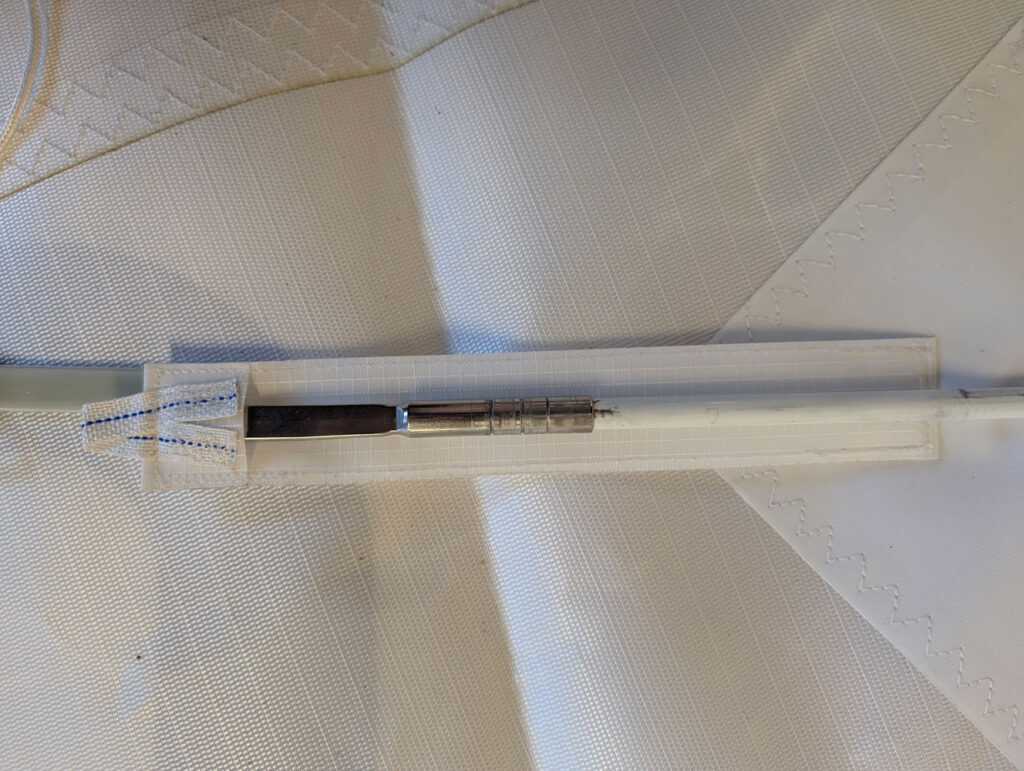
Apply tension gradually until the batten is firm, but not over-tightened. As a guide, once the correct tension is set you should see approximately 5mm of Velcro tab showing, followed by the webbing loop. Keeping gentle pressure on the top of the pocket while removing the batten loader to prevent easing. Then press firmly along the full length of the Velcro closure to ensure it is fully engaged and secure. Repeat for each batten, working methodically from the top of the sail downwards.