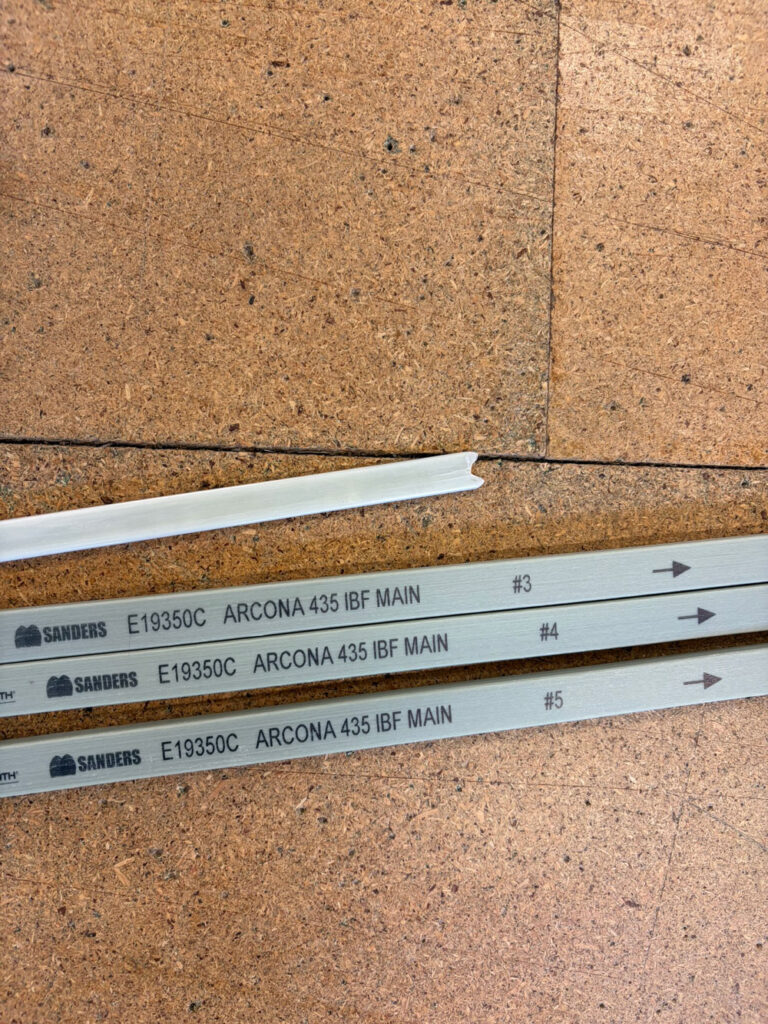
Step 1: Prepare the Sail and Battens
Lay the sail out flat with the batten pockets facing upwards. Identify each batten and check for any markings or labels to confirm their correct order. Many battens are directional, with a tapered end designed to face towards the luff. If no markings are present, always insert the tapered end first. Where battens are numbered, No.1 denotes the top batten, with numbers increasing as you work down the sail. Ensure each batten pocket is clear of obstructions and have your batten loader ready to hand.
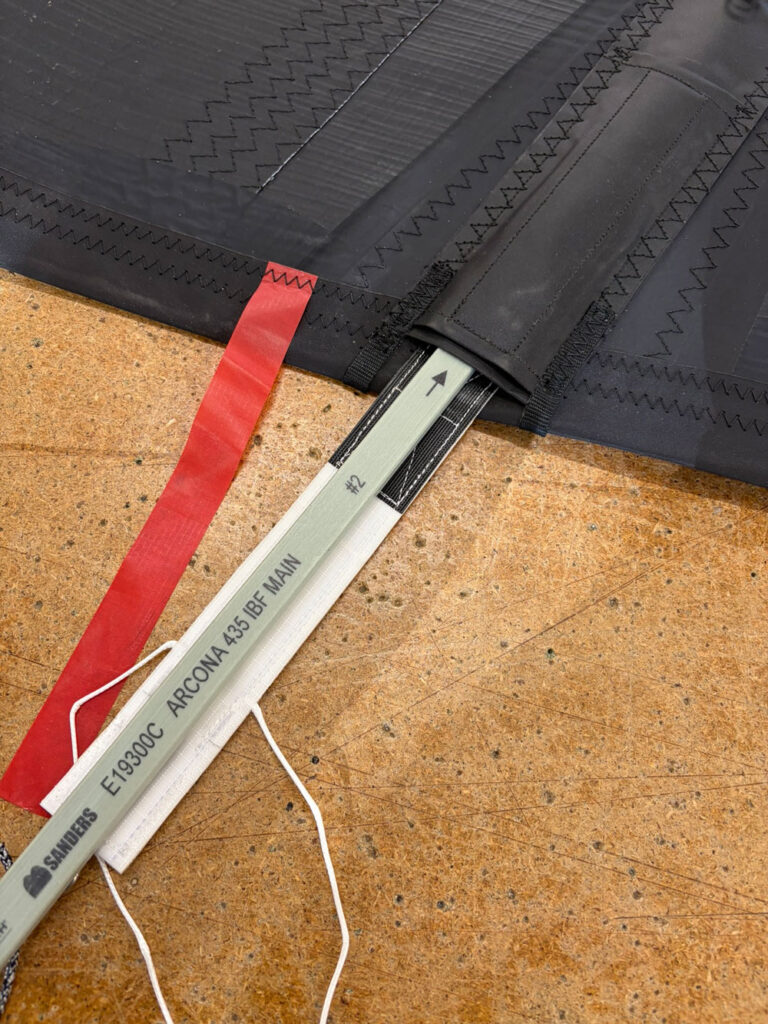
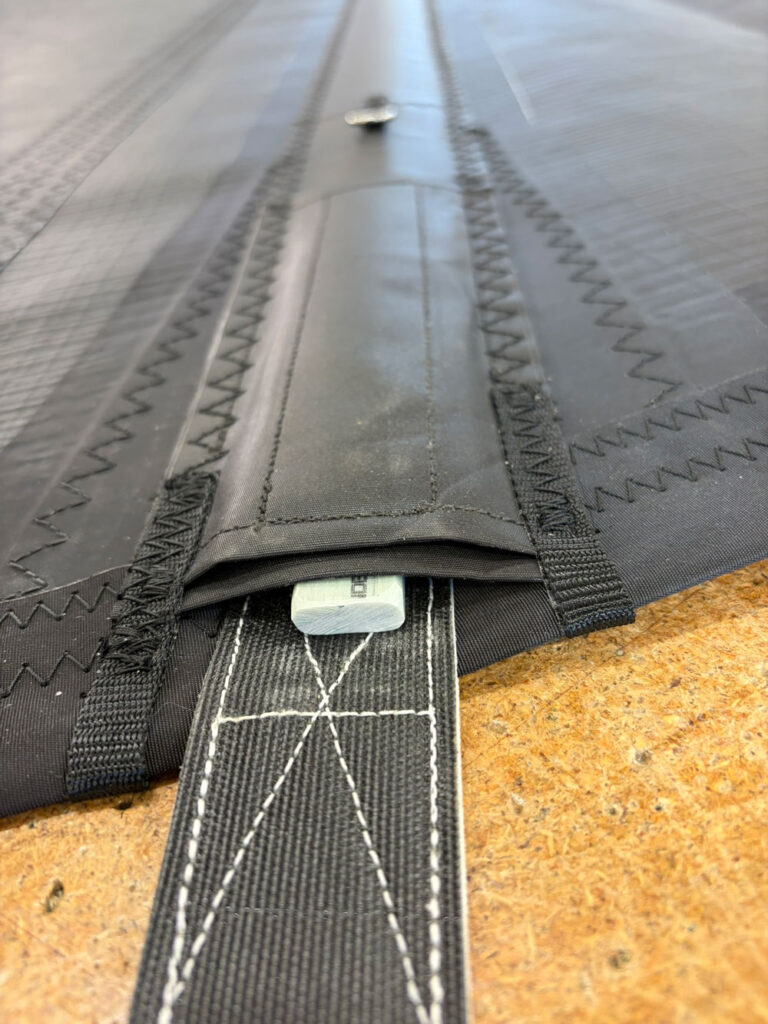
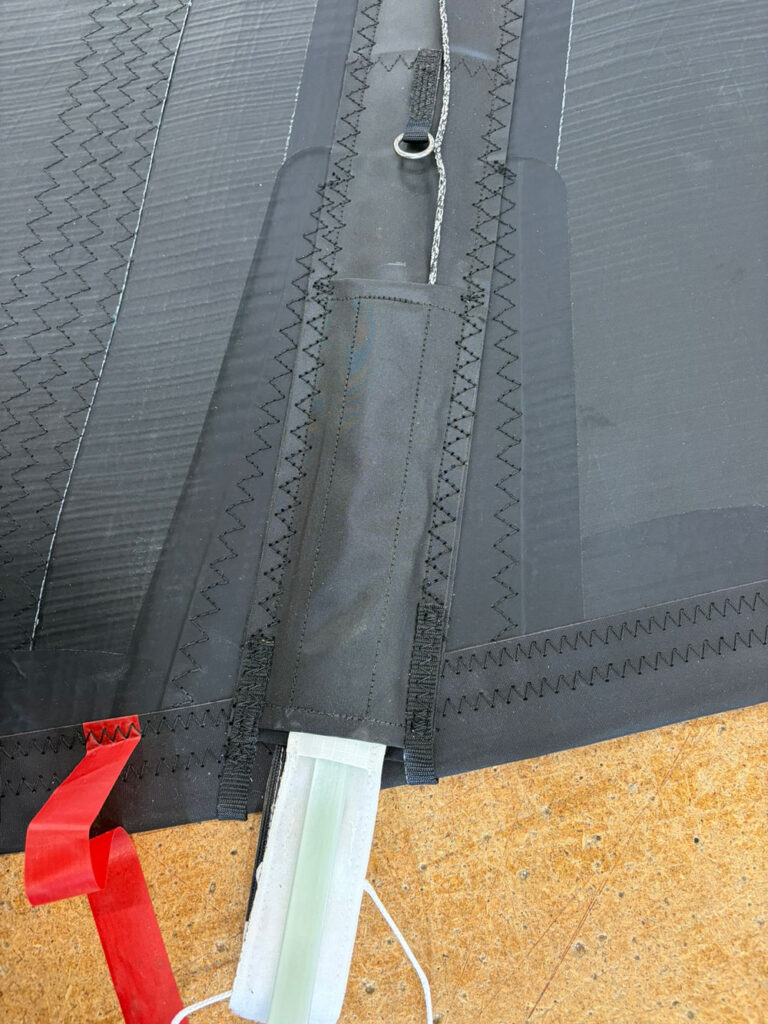
Step 2: Insert the Batten
Open the pocket fully so the batten can lie flat inside. You will notice two internal channels – ensure the batten is fed into the lower channel. Slide the batten in smoothly until it reaches the end of the pocket. It should feed in without force. When correctly positioned, a small section of the batten will remain visible at the leech end.
Step 3: Feed in Velcro Tab
Using the batten loader supplied, feed the Dyneema tie through the upper channel of the pocket. Once the Dyneema emerges from the far end, use the loader to guide the Velcro tab along the same path. By gently pulling the Dyneema tie while guiding with the loader, the batten will be drawn firmly into its final position.
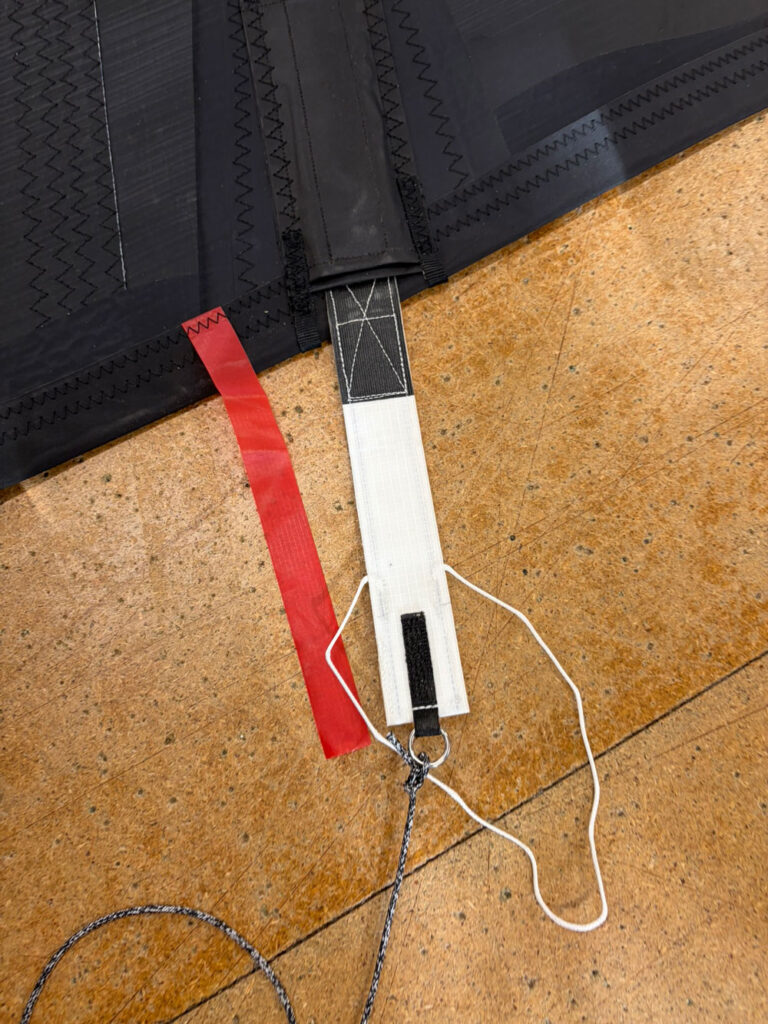
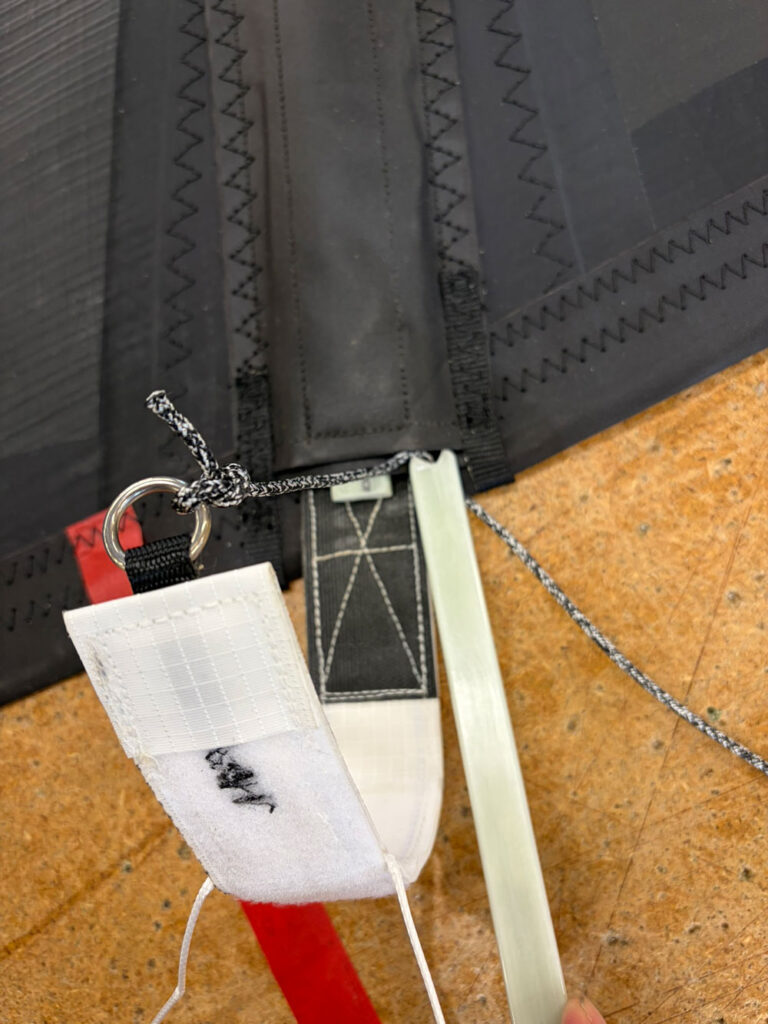
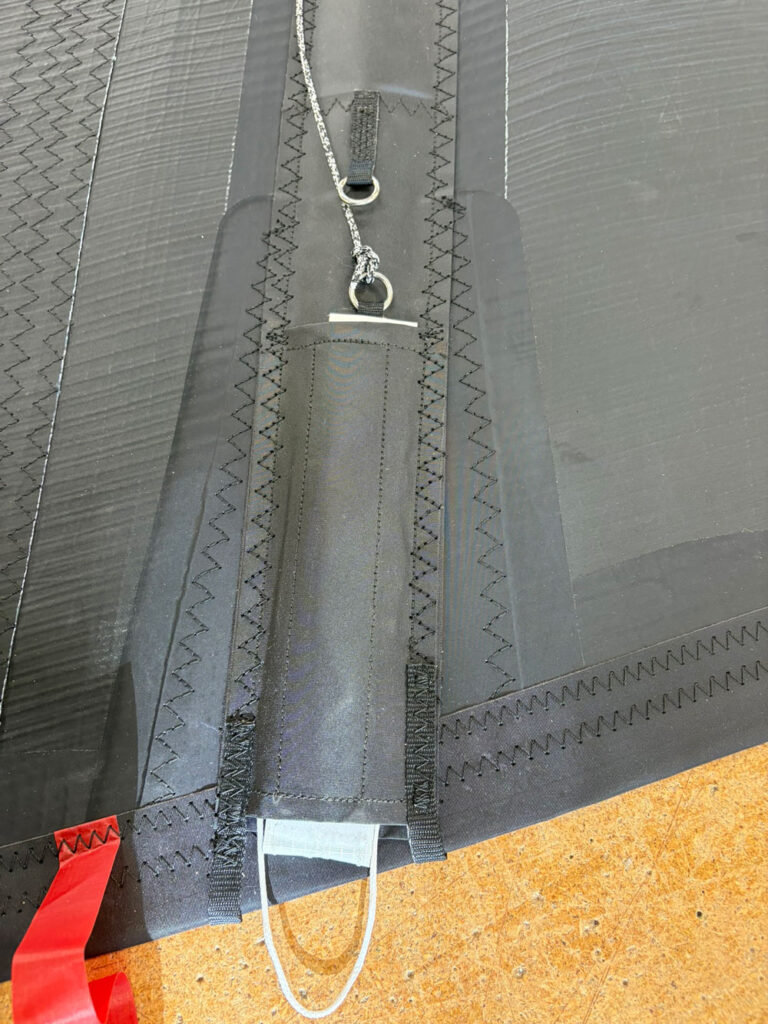
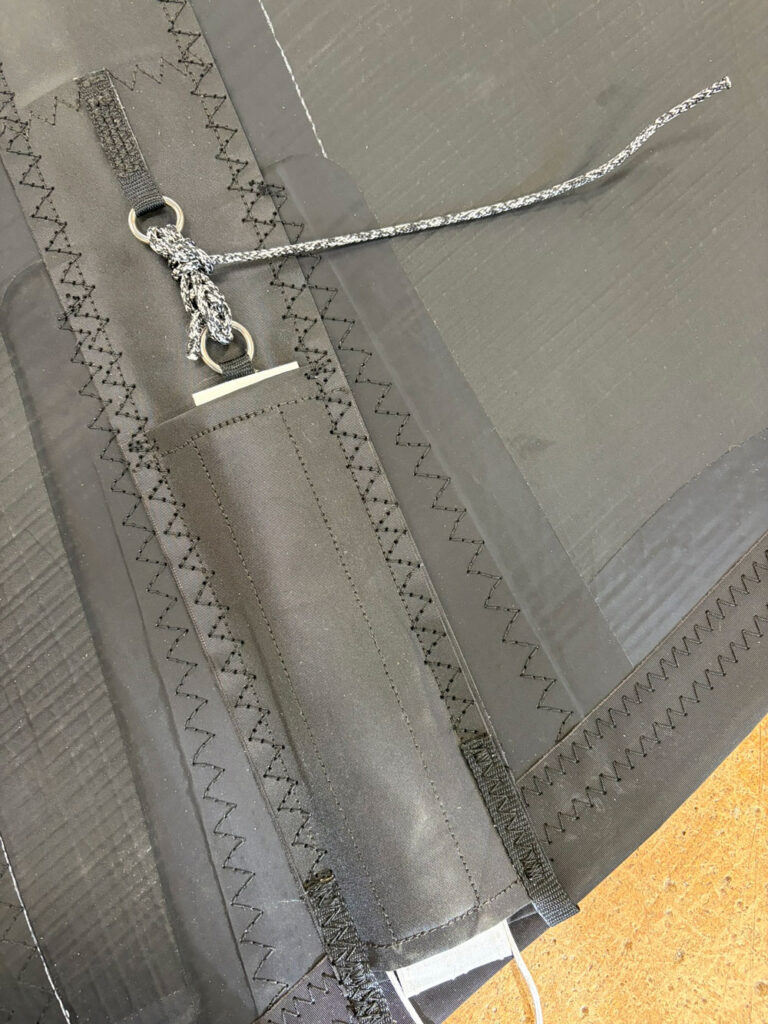
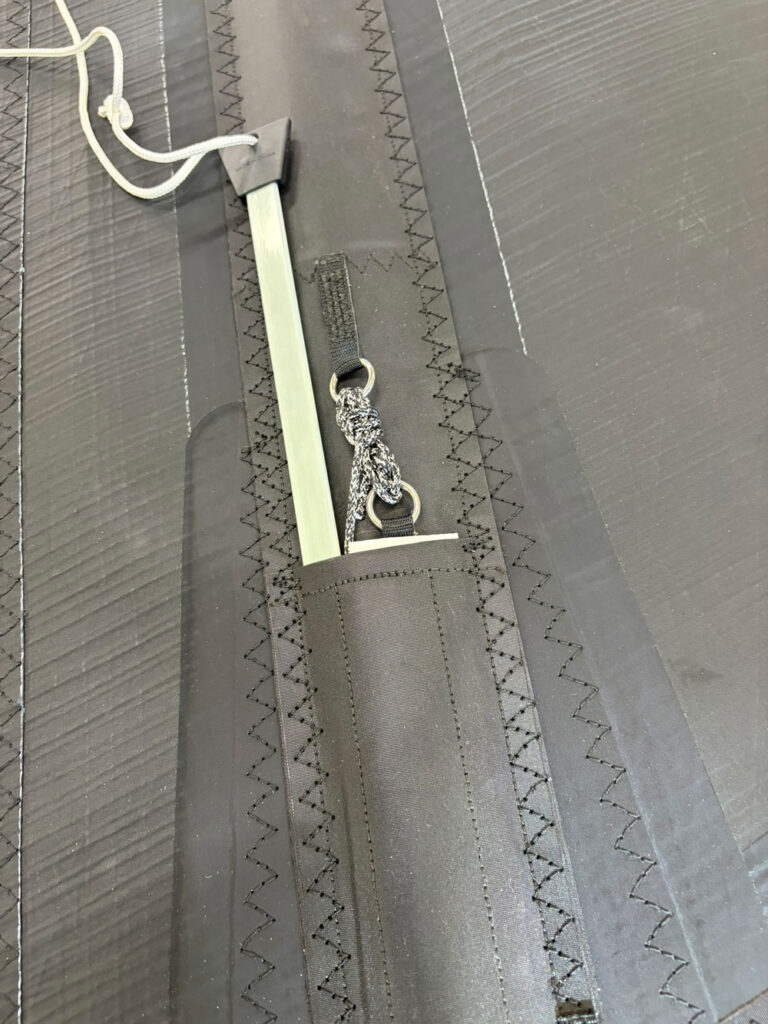
Step 4: Secure the Pocket
With the correct tension applied, the metal ring at the end of the pocket will become exposed. Secure the tie-in by lashing through the ring with several firm turns and hitches to hold everything in place.
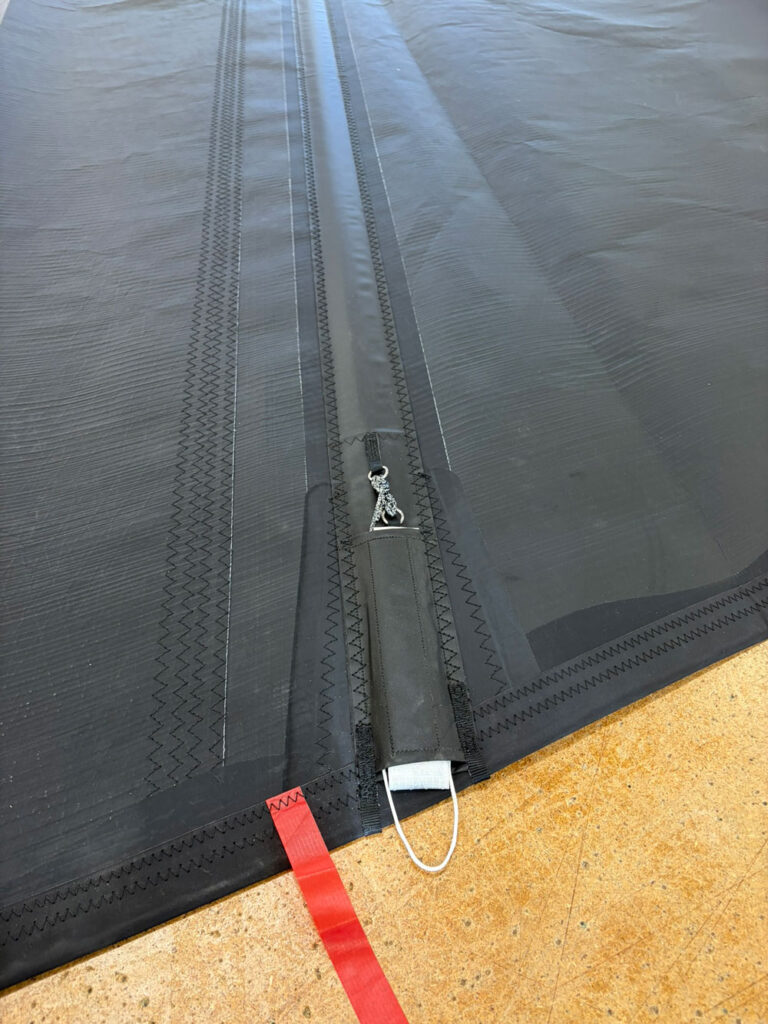
Step 5: Finish off Pocket
Use the batten loader to push any excess line neatly back into the pocket. Smooth down the Velcro firmly by hand to ensure a clean, flush finish. Repeat this process for each batten, working methodically from the top of the sail downwards.