Step 1: Prepare the Sail and Battens
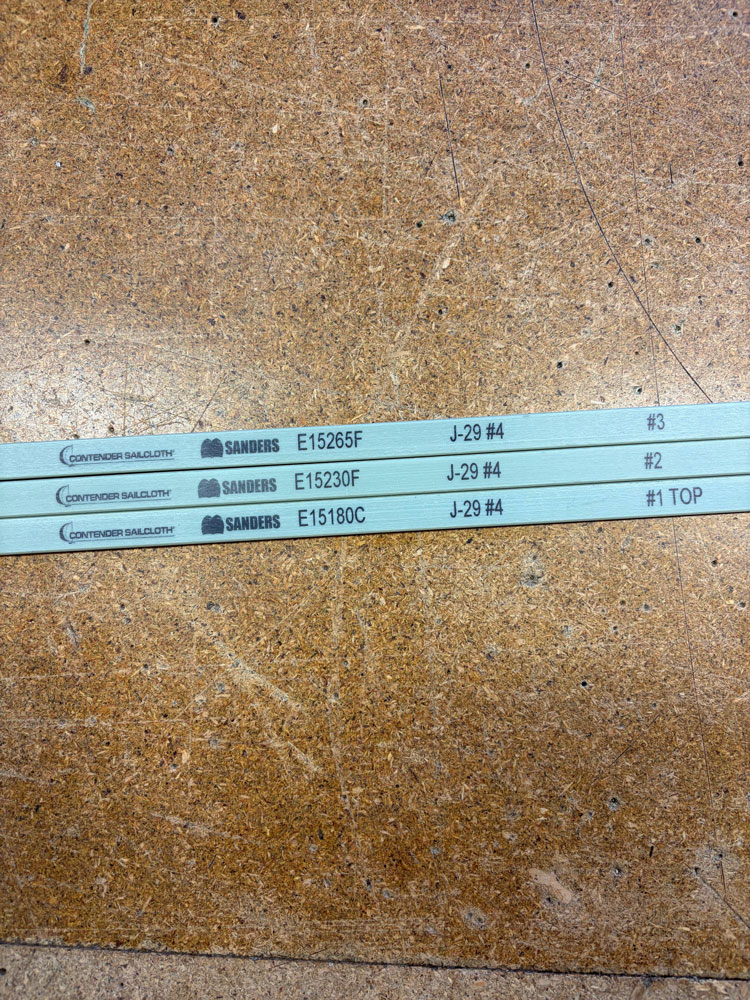
Lay the sail out flat with the batten pockets facing upwards. Identify each batten and check any markings or labels to confirm their order. Many battens are directional, with a tapered end designed to face towards the luff. If no marking is present, the tapered end should always be inserted first. When battens are labelled, number 1 is always the top batten and go up as you work down the sail. Take a moment to check that each batten pocket is clear and that you have your batten loader to hand.
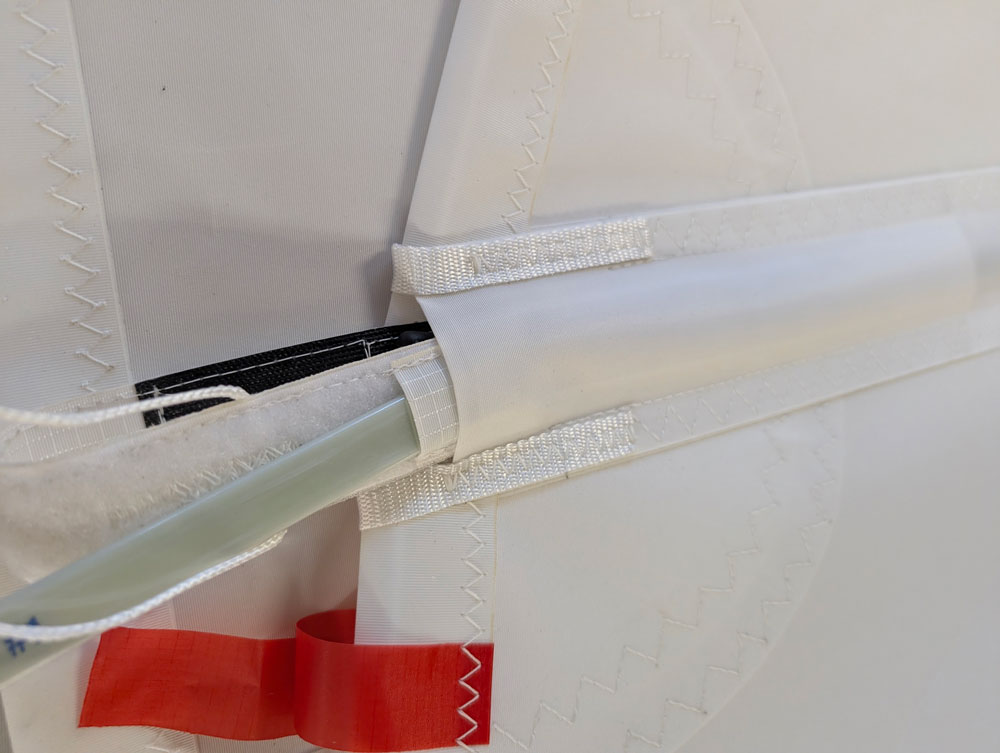
Step 2: Insert the Batten
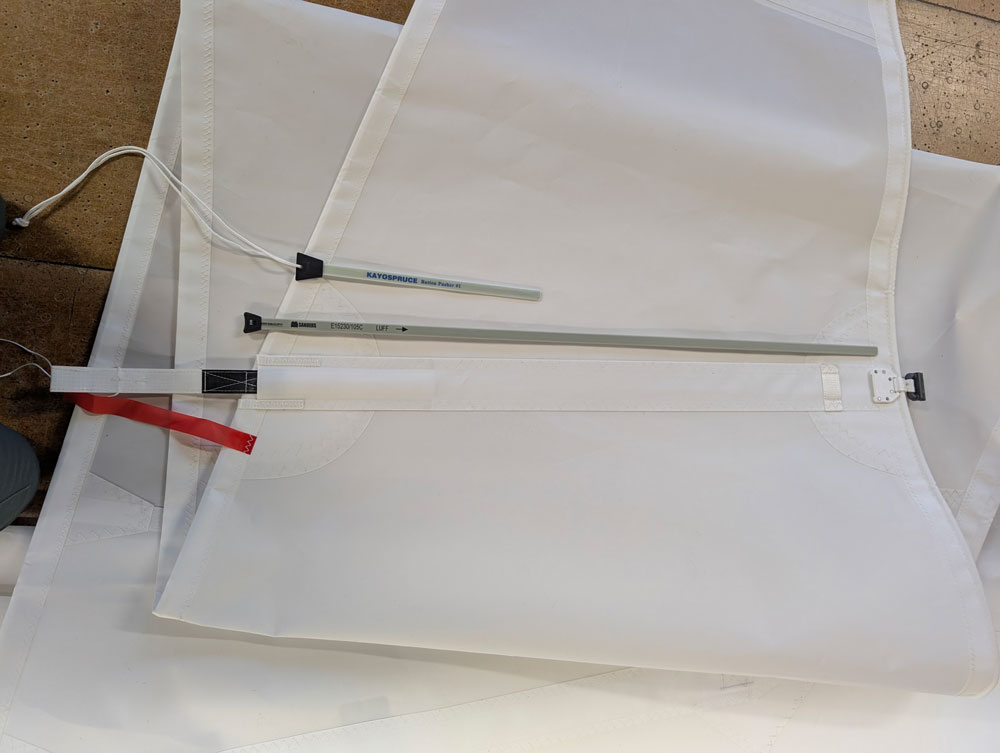
Open the Velcro pocket fully so the batten can lie flat inside. Slide the batten into the pocket, ensuring it sits between the internal Velcro and the pocket cover. Push the batten in smoothly until it reaches the end of the pocket where it should slide in without force. When correctly positioned, a small amount of the batten will remain visible at the leech end.
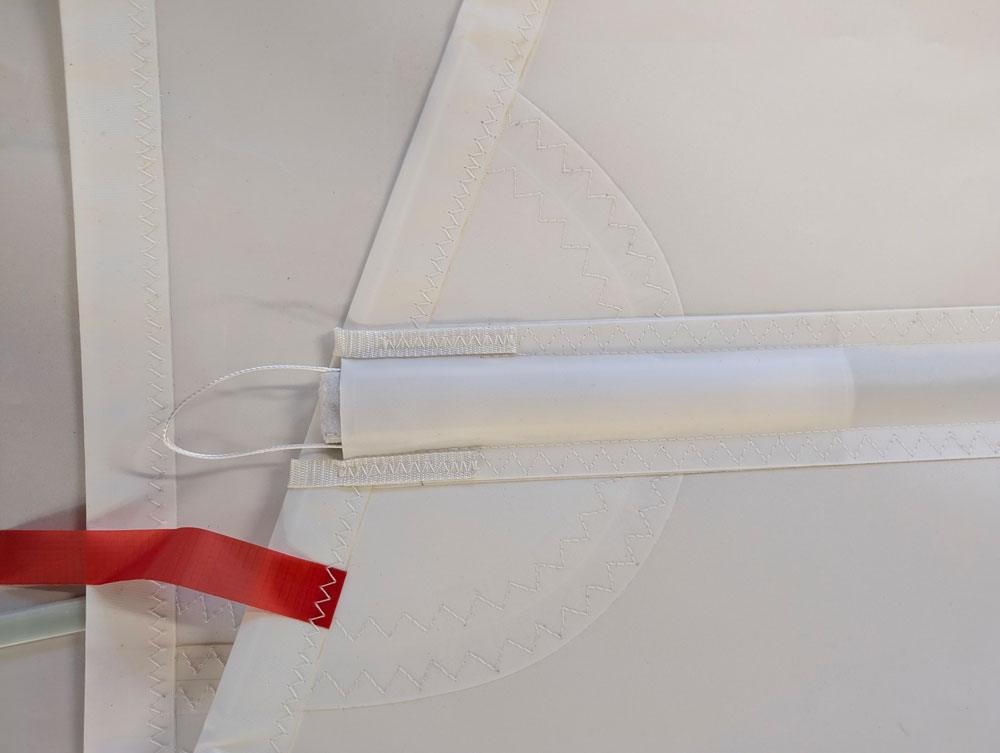
Step 3: Apply Batten Tension
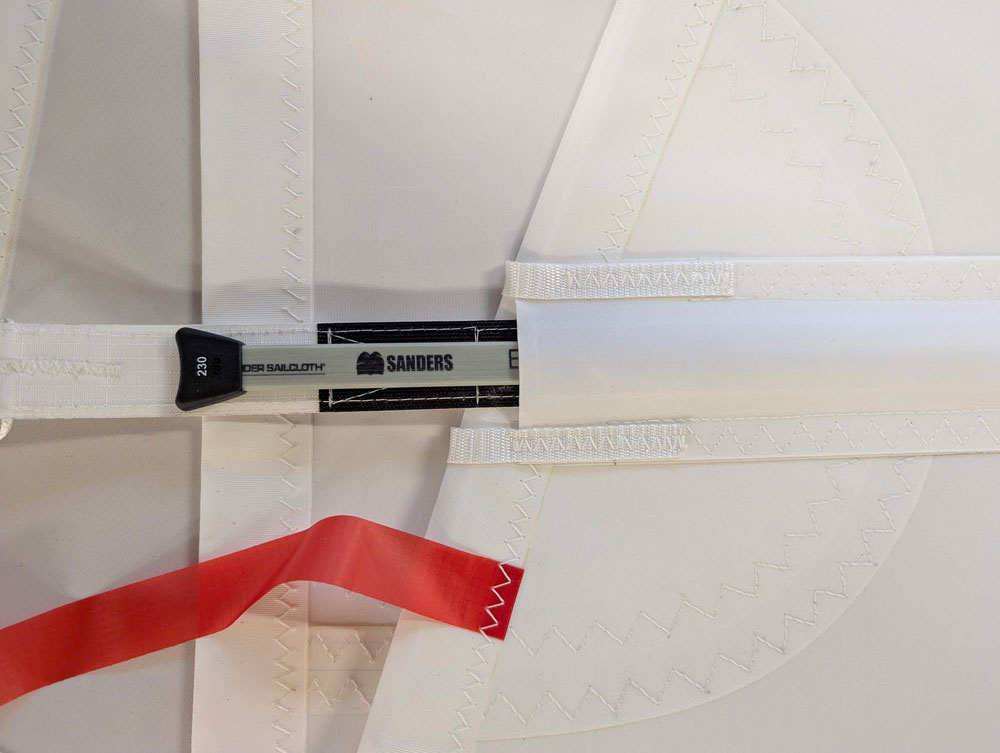
Take the batten loader supplied with your sail and insert it into the capped end of the tensioning strap. Make sure the Dyneema removal line is pulled back, clear of the Velcro closure. Feed the tab into the pocket above the batten and apply tension gradually until the batten is firm, but not over-tight. As a guide, the batten should support the sail shape without distorting the pocket or creating hard creases in the sailcloth.
Step 4: Secure the Pocket
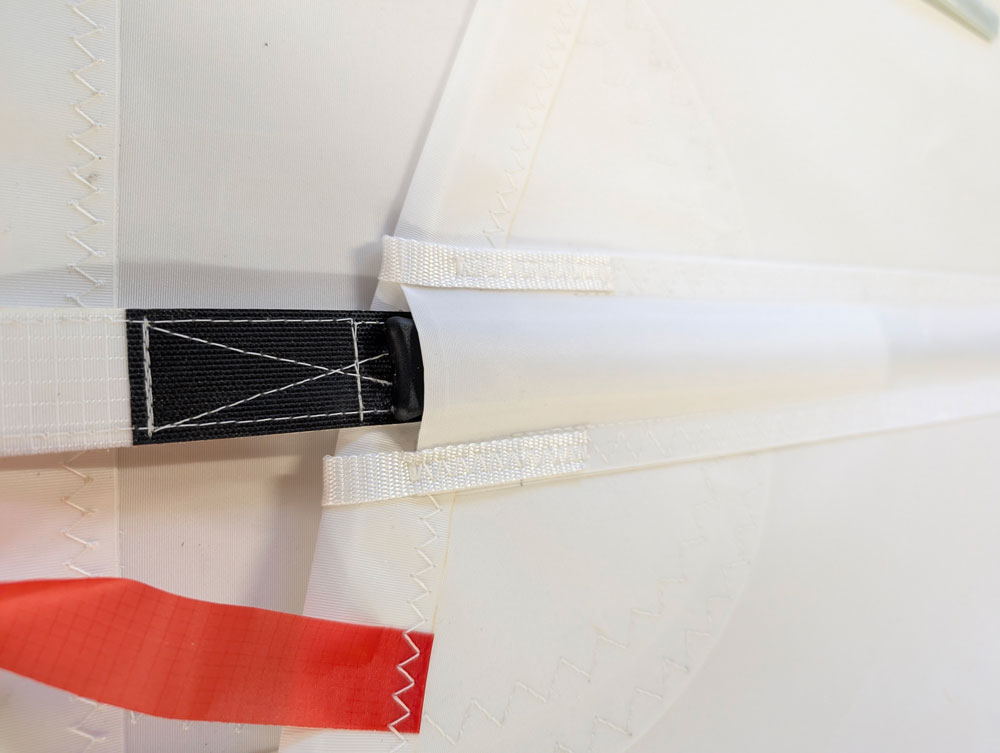
Once the correct tension is set, remove the batten loader by keeping gentle pressure on top of the pocket to prevent the tab pulling back. Press firmly along the full length of the Velcro closure to ensure it is properly engaged and secure. Repeat the process for each batten, working methodically from the top of the sail downwards.