Protecting Your Sails the Right Way
Modern sails work hard. Each tack, gybe and manoeuvre places load and movement into the sailcloth and where sails encounter rigging, chafe is inevitable. Spreader and chafe patches are a simple, but critical detail that protects your sails from unnecessary wear and significantly extends their working life. When applied correctly, these patches act as sacrificial protection, taking the abrasion so the sail doesn’t have to.
What Are Spreader & Chafe Patches?
Spreader patches are typically made from sticky-back insignia or Dacron cloth and are bonded directly onto the sail. Their purpose is to protect high-wear areas where the sail regularly presses against spreader tips, shrouds, stanchions, or deck hardware. Rather than allowing repeated abrasion to damage the sailcloth itself, the patch absorbs the wear and can be replaced when required – preserving the sail underneath. On performance laminates and membranes, this protection is especially important, as even small areas of repeated chafe can quickly lead to structural damage.
On larger cruising and blue water yachts, however, the loads acting through the sail can be significantly higher, and a simple bonded patch may not provide sufficient long-term protection. In these cases, a more substantial chafe patch is often required, most commonly sewn onto the sail using heavier woven materials and additional reinforcement. These sewn patches are designed not only to resist abrasion, but also to cope with the higher compression and load concentrations seen on larger rigs.
When Should Spreader Patches Be Applied?
If we have identified spreader contact as a concern, patches will either be supplied already fitted or included loose with the sail.
Spreader patches are strongly recommended if:
- You race regularly
- Your genoa overlaps the spreaders when sheeted
- You sail in stronger breeze where loads are higher
- Your rig geometry brings sails into frequent contact with hardware

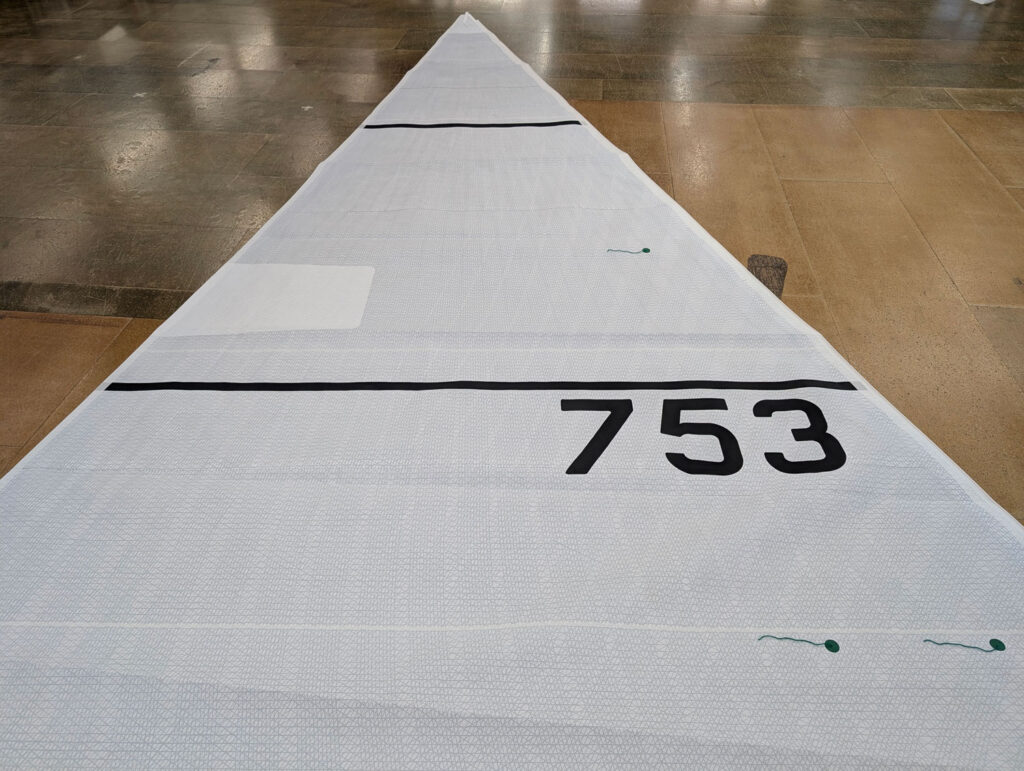
Finding the Correct Patch Position: Headsails
- Hoist the sail in light conditions and sheet it in firmly.
- From a bosun’s chair, mark where the spreader contacts the sail when fully trimmed.
- The patch should extend forward of this point and all the way to the leech.
- Because the leech rises as the sheet is eased, position the patch so approximately three-quarters of it sits below the contact mark when the sail is sheeted hard.
- Mark both sides of the sail as patches must always be applied port and starboard.
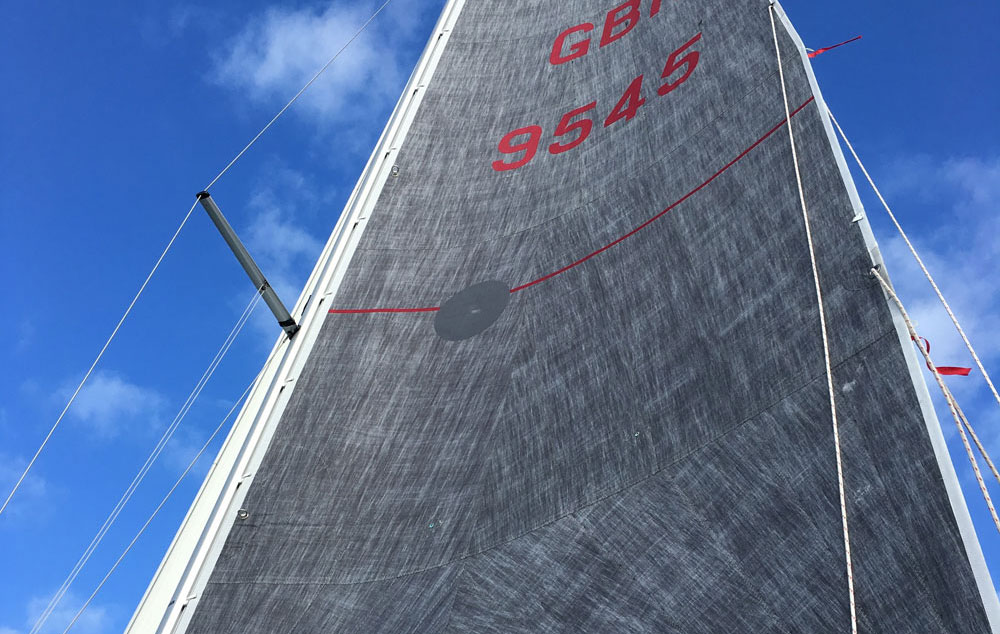
Finding the Correct Patch Position: Mainsails
- Hoist the sail in light conditions and let the boom out.
- From a bosun’s chair, mark where the spreader contacts the sail.
- Unlike a headsail, a single circular dot patch will protect the vulnerable area.
- Put a reef in the mainsail and mark again where the new spreader contact point is.
- Mark both sides of the sail as patches must always be applied port and starboard.
Preparing the Sail
Before applying any patches:
- Ensure the sail is completely dry
- Remove salt and dirt
- Lay the sail out on a large, flat surface
- Keep the sail under light tension so the surface remains smooth
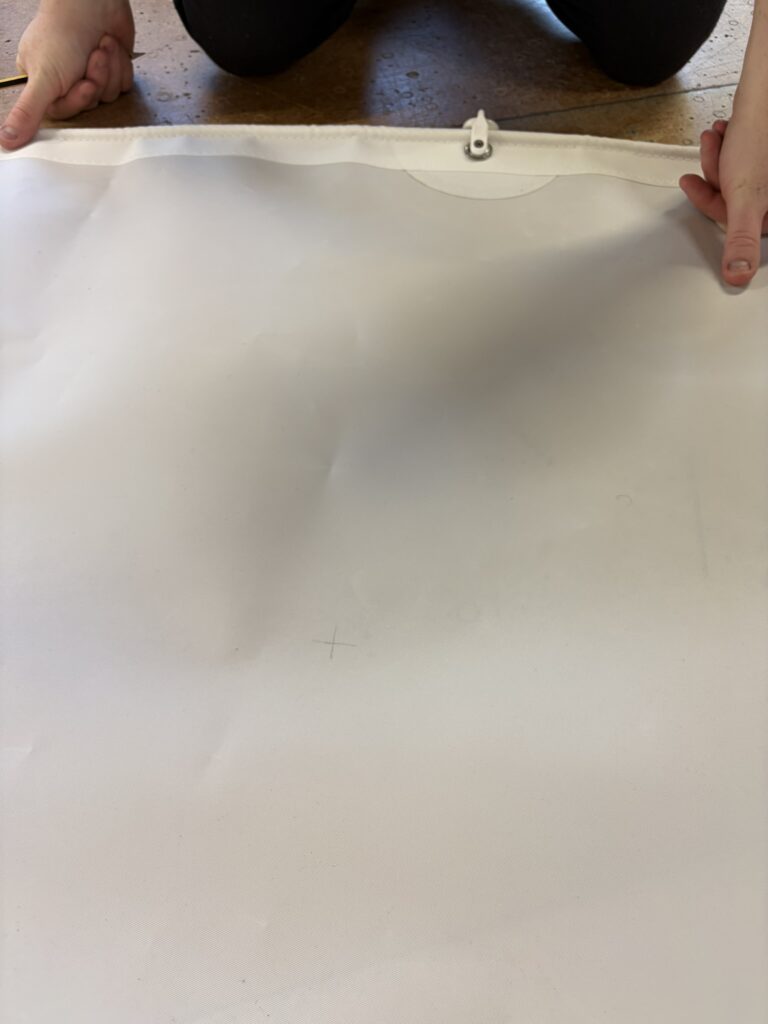
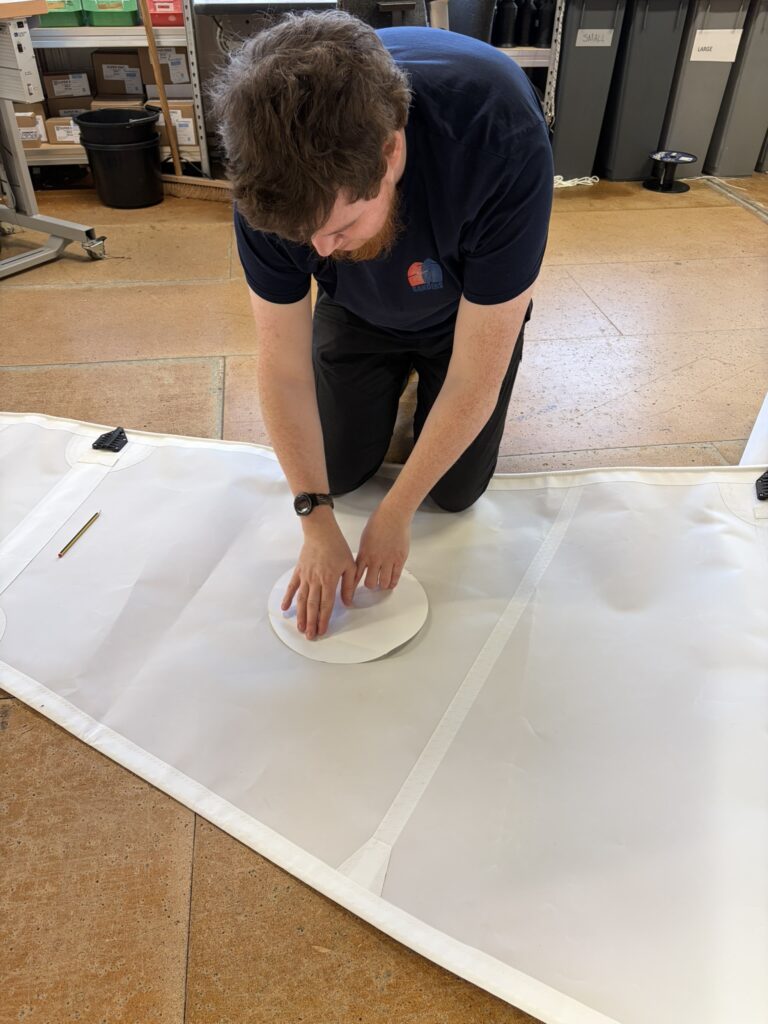
Applying the Patch
- Locate your mark and make sure the intended area of the sail is flat and smooth.
- Place the patch in its intended position and lightly mark the outline using pencil or tape. If applying to a headsail, allow the patch to overlap the leech by 50mm so it can be wrapped around.
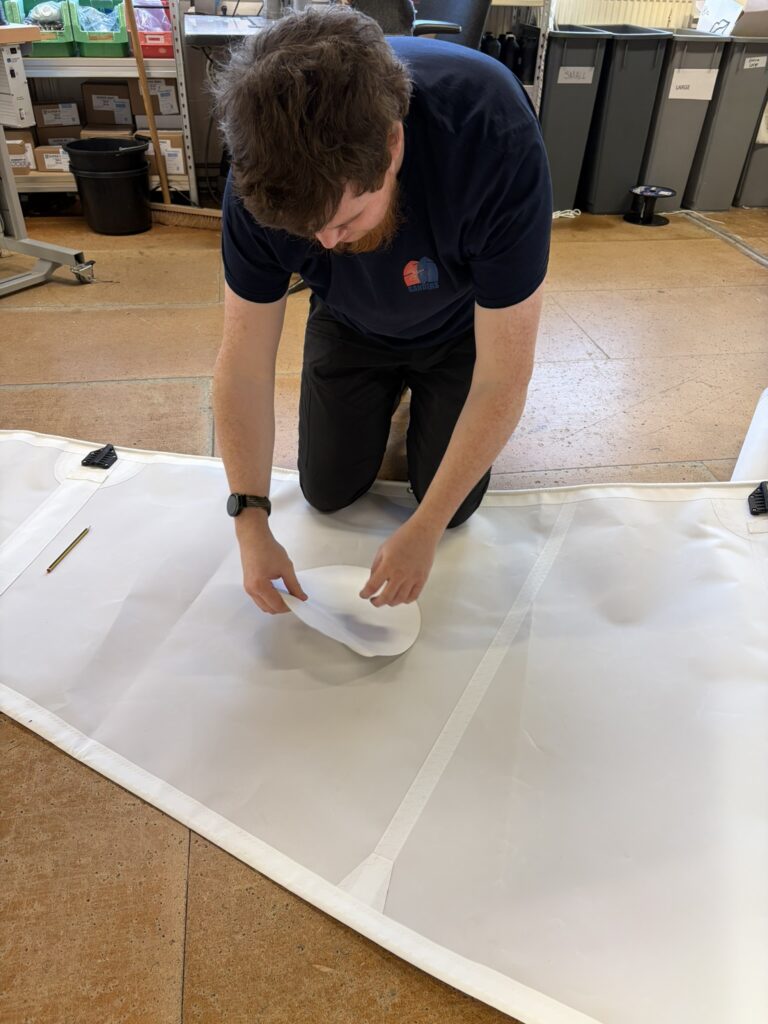
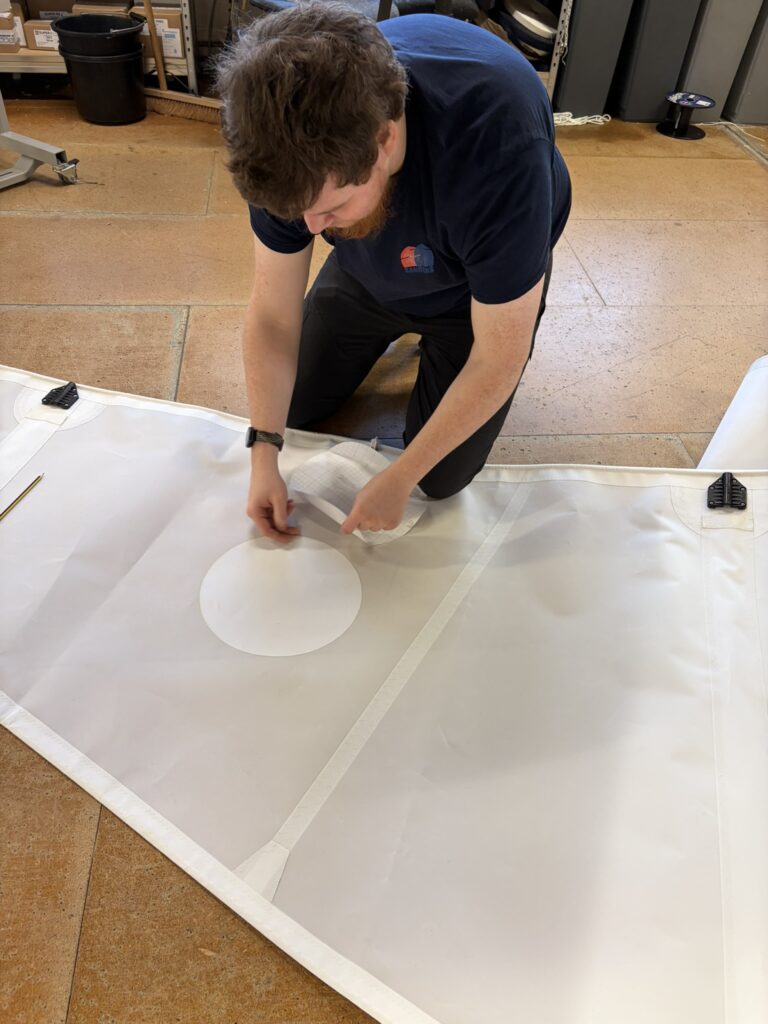
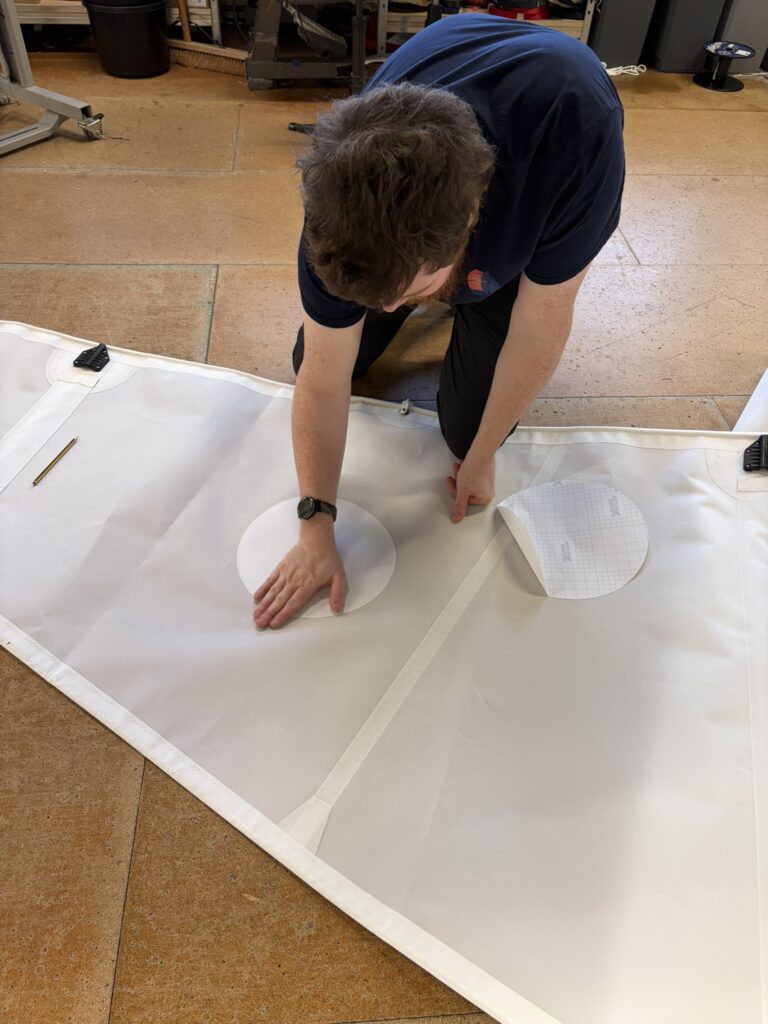
- Fold back the first few centimetres of backing paper and tack the patch in place. If applying a chafe patch on a headsail, ensure it runs parallel to the waterline.
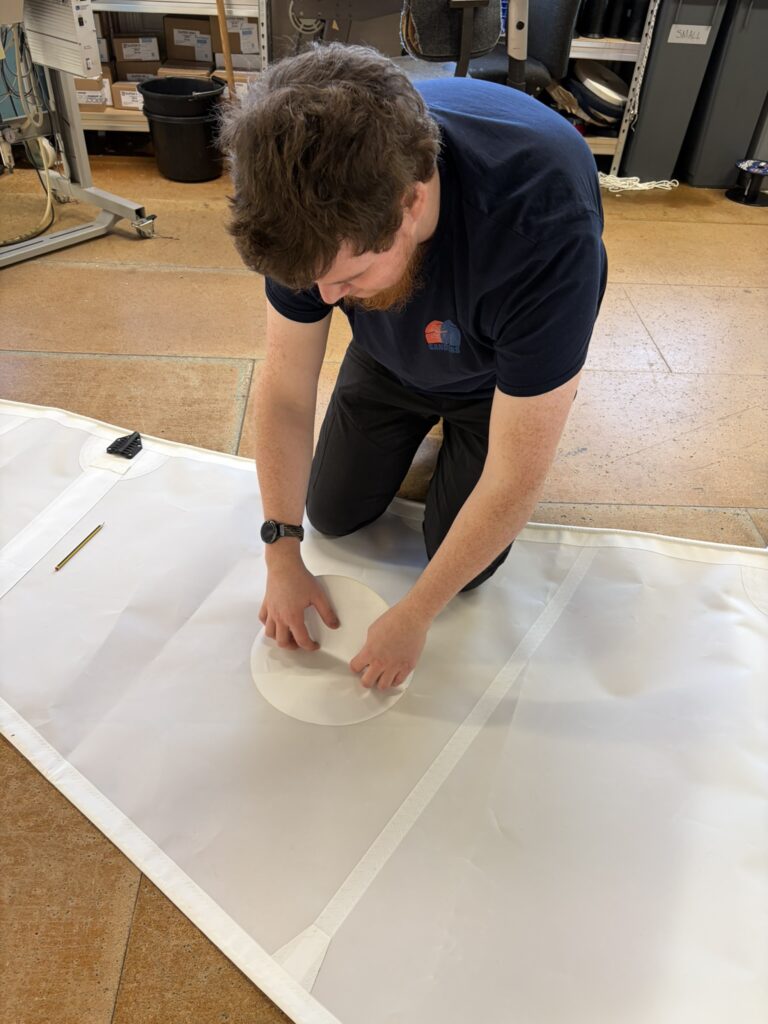
- Apply gradually – Working towards you, peel away the backing a little at a time while smoothing the patch down firmly. Use your hand or a soft, flat tool to push air out as you go.
- It is important to maintain pressure – keeping the sail under gentle tension (often using knees or hands) helps prevent wrinkles and ensures a clean bond.
- Rub patch down firmly and then repeat the process on the opposite side.
After Installation
Inspect patches regularly. They are designed to wear; that’s their job. Once a patch becomes thin or damaged, replace it before the underlying sailcloth is exposed. If a spreader ever punctures the sail, stop sailing and have the area professionally repaired. A proper repair will reinforce the area beneath the patch to restore strength and prevent further damage.
The Sanders Approach
Attention to detail like this is what separates sails that merely survive from sails that perform and last. Correctly applied spreader and chafe patches:
- Extend sail life
- Protect performance materials
- Reduce repair costs
- Improve reliability when sailing hard
If you are unsure about placement, materials, or whether your sails would benefit from additional protection, we are always happy to advise, or apply the patches professionally.
Visit our services page for more details