Step 1: Prepare the Sail and Battens
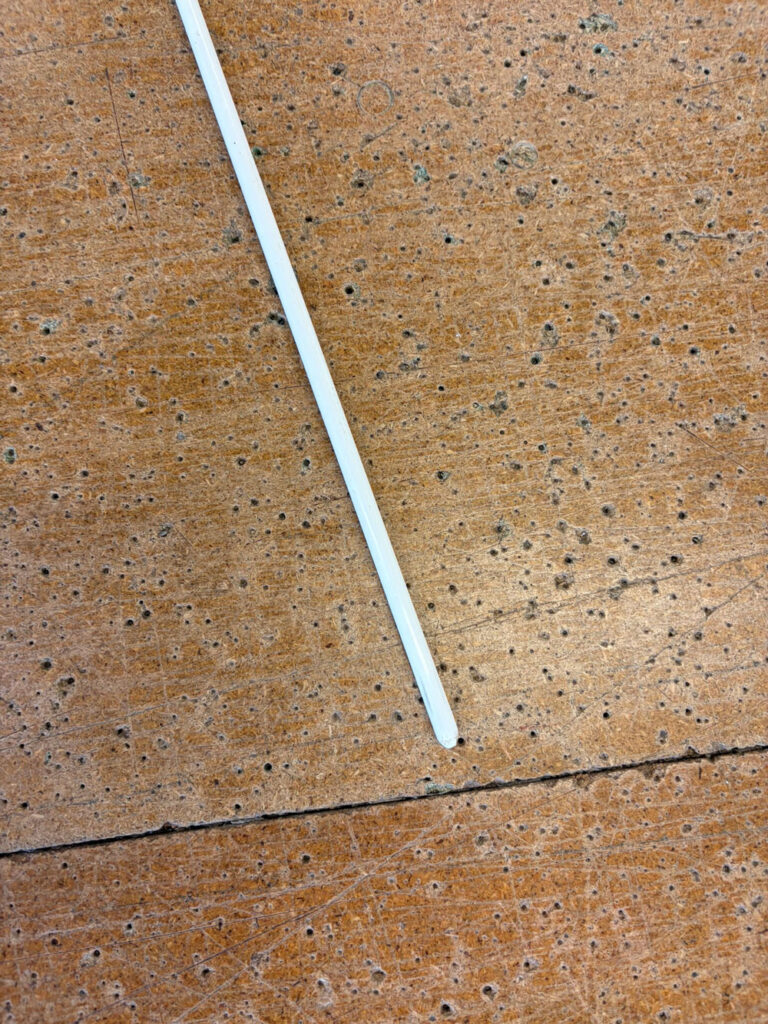
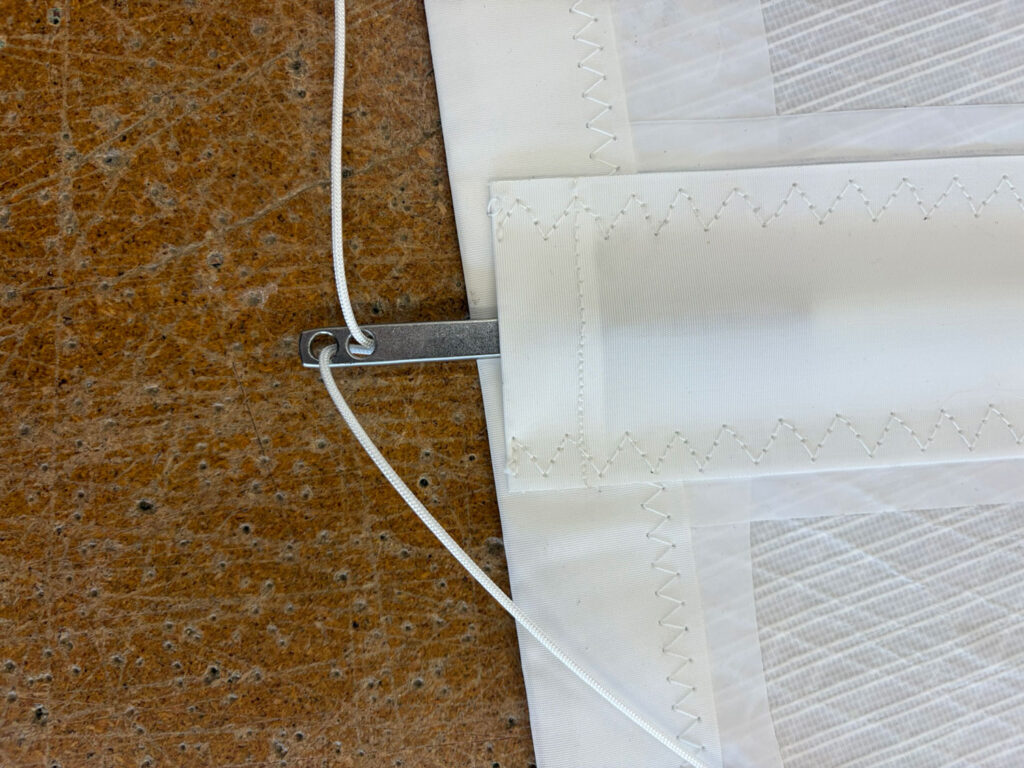
You will not be able to install full-length vertical in-mast furling (IMF) battens before the sail is hoisted into the mast. For this reason, we recommend stepping and setting up your new sail on a light-wind day, with plenty of sea room to leeward in case you need to depower the mainsail at any stage. Your rod battens are supplied with a metal spade fitting at one end and a smooth, rounded end at the other. The rounded end should be inserted into the sail, where it will locate into the corresponding metal spade fitting that is permanently installed within the sail.
Step 2: Insert the Batten
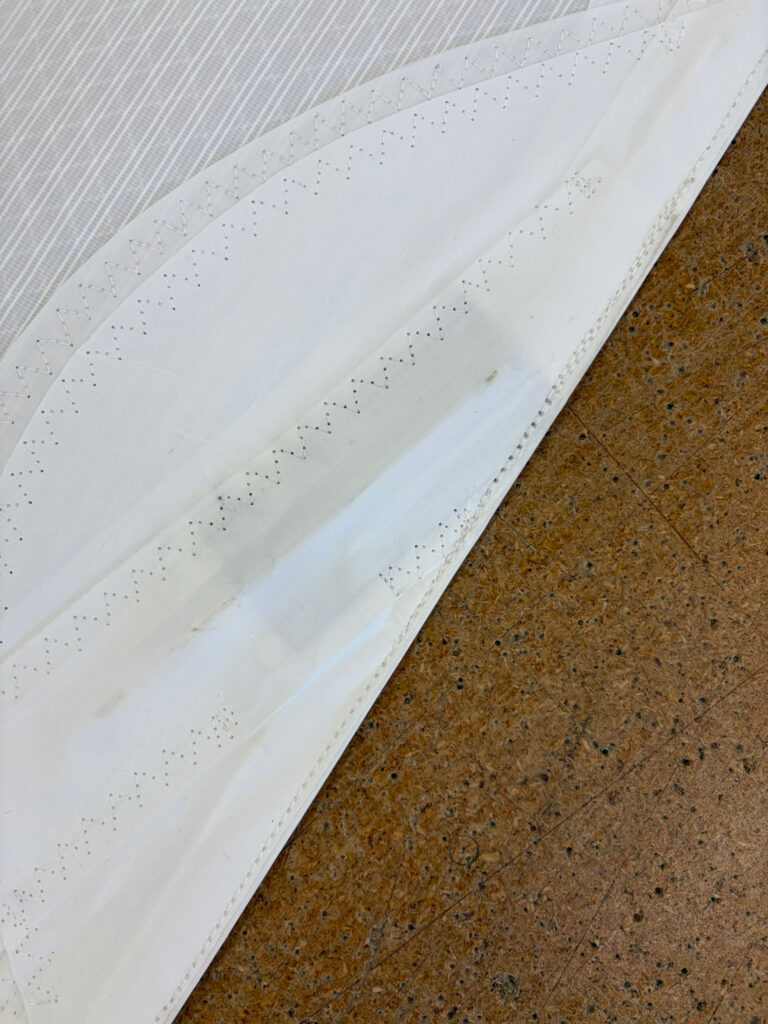
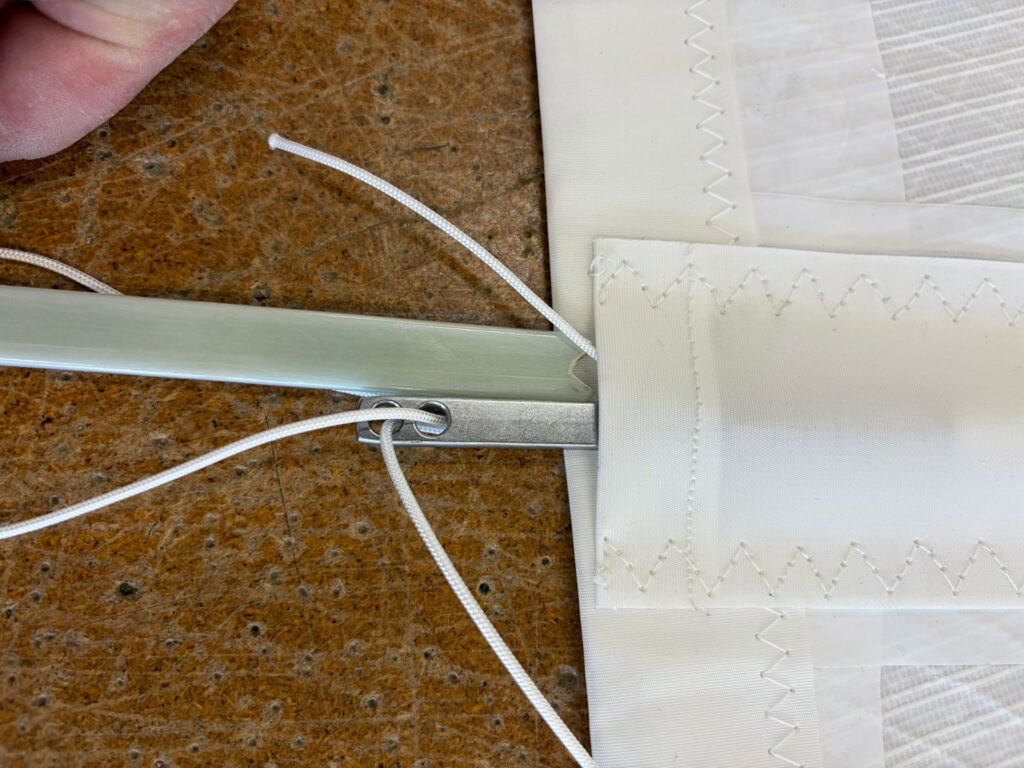
It is recommended to begin with the longest batten (the one closest to the luff). This allows you to furl the mainsail away progressively, one batten at a time, as you work along the length of the foot. Position the batten beneath the Dacron tab and push it up into the sail until approximately 50mm (2”) of the metal spade remains exposed at the lower end.
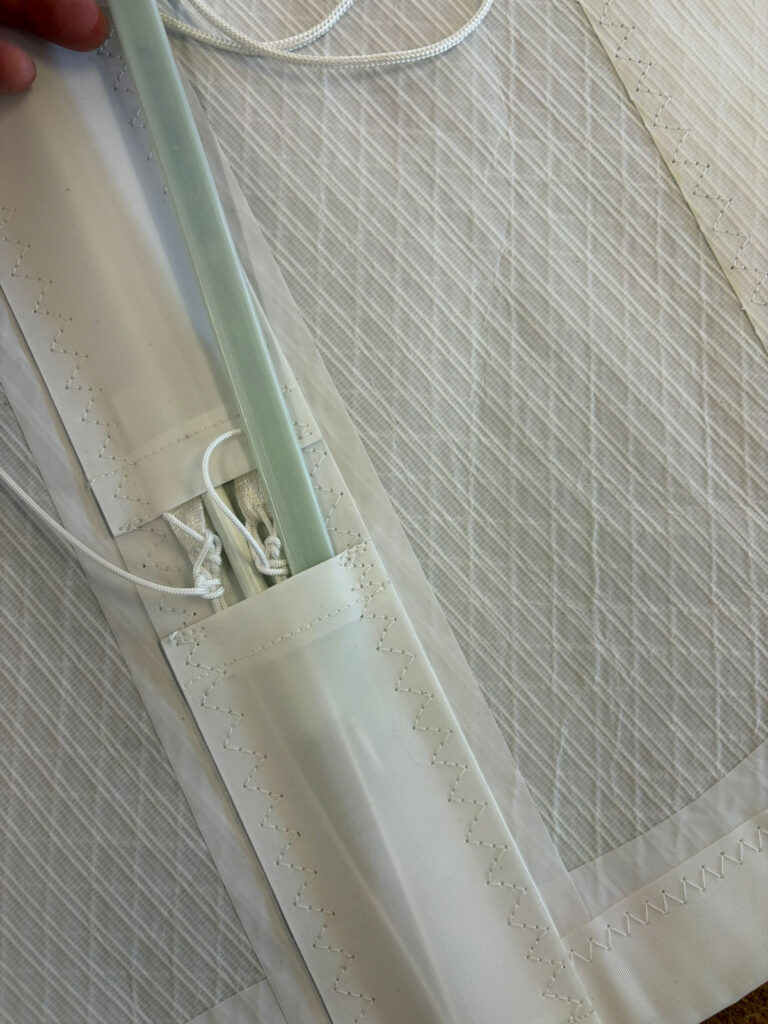
Step 3: Formulate the Dyneema Lashing
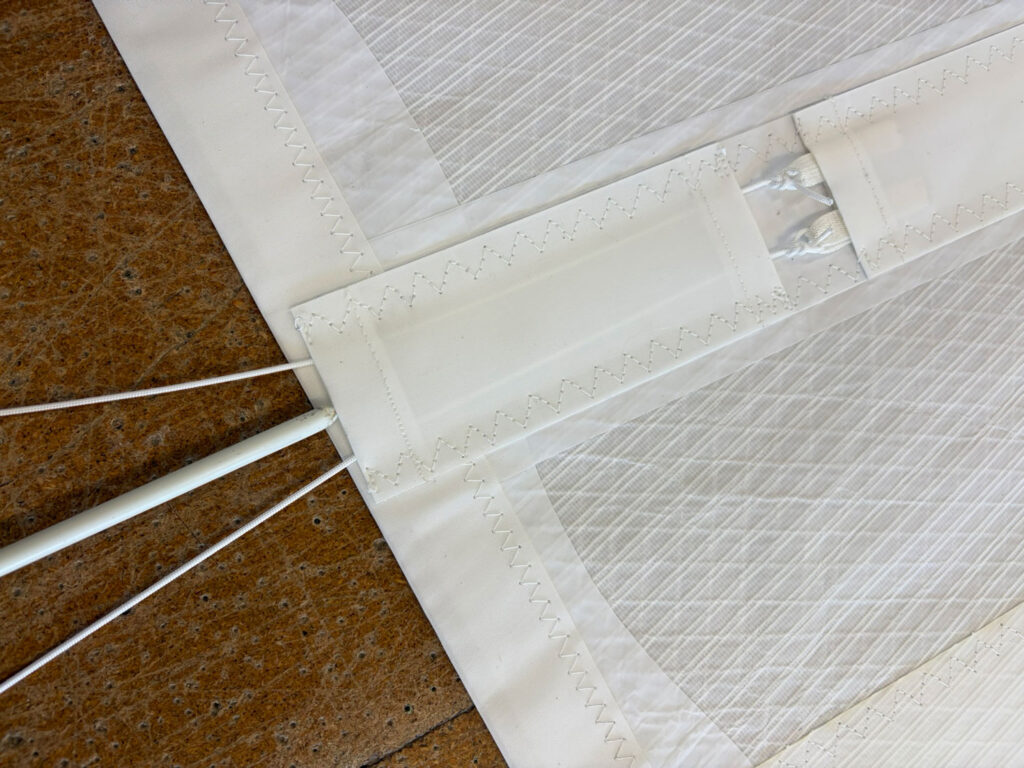
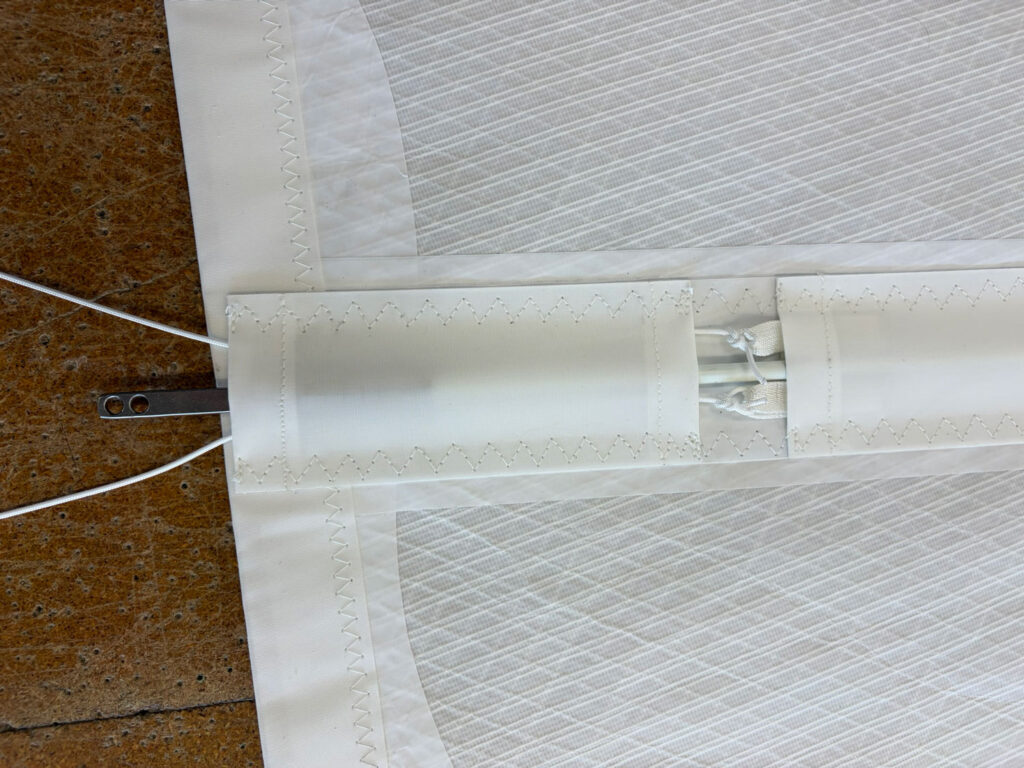
You will notice two Dyneema lashings emerging from the batten pocket. Feed one lashing through each hole (the orientation does not matter), then use your batten loader to bring both ends back up through the pocket on the same side they entered. It is important that the lashings return on the same side, as this ensures the batten is held in the correct plane when the sail is being furled into the mast.
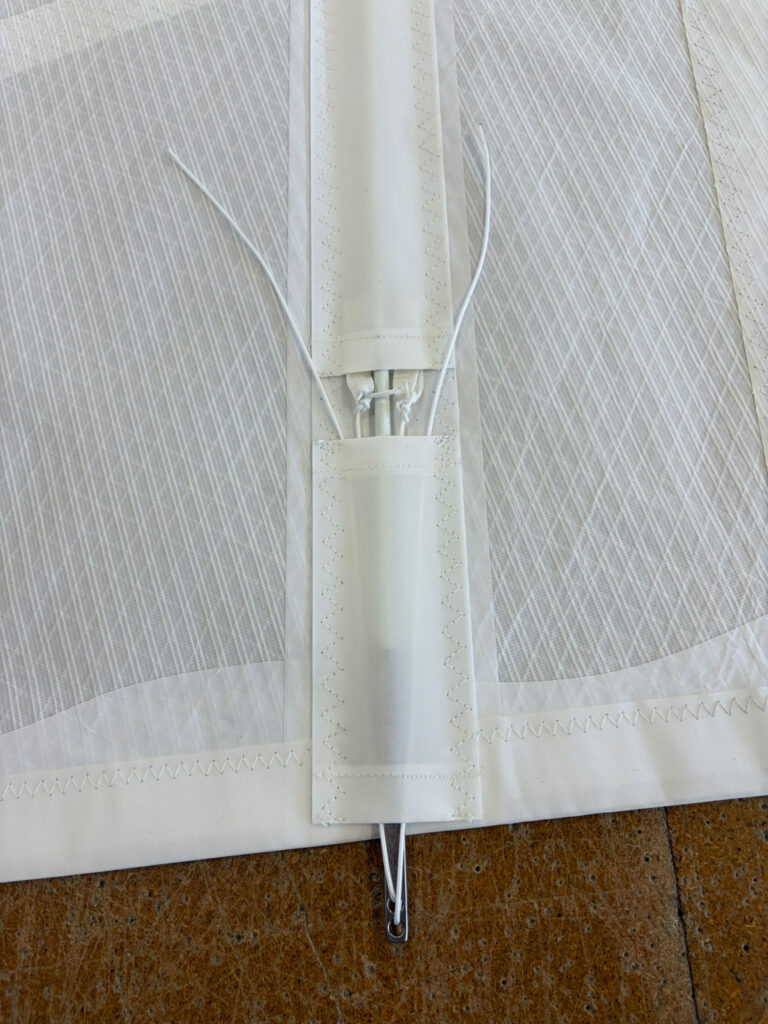
Step 4: Apply Tension and Secure Batten
Once the Dyneema lashings are fed back through the pocket and emerge at the end, you can pull on them to draw the rod batten fully into position. The batten should slide neatly into the pocket, finishing approximately 10mm inside. There is a row of stitching at the pocket end which serves as a useful visual guide to confirm that the batten is correctly seated.
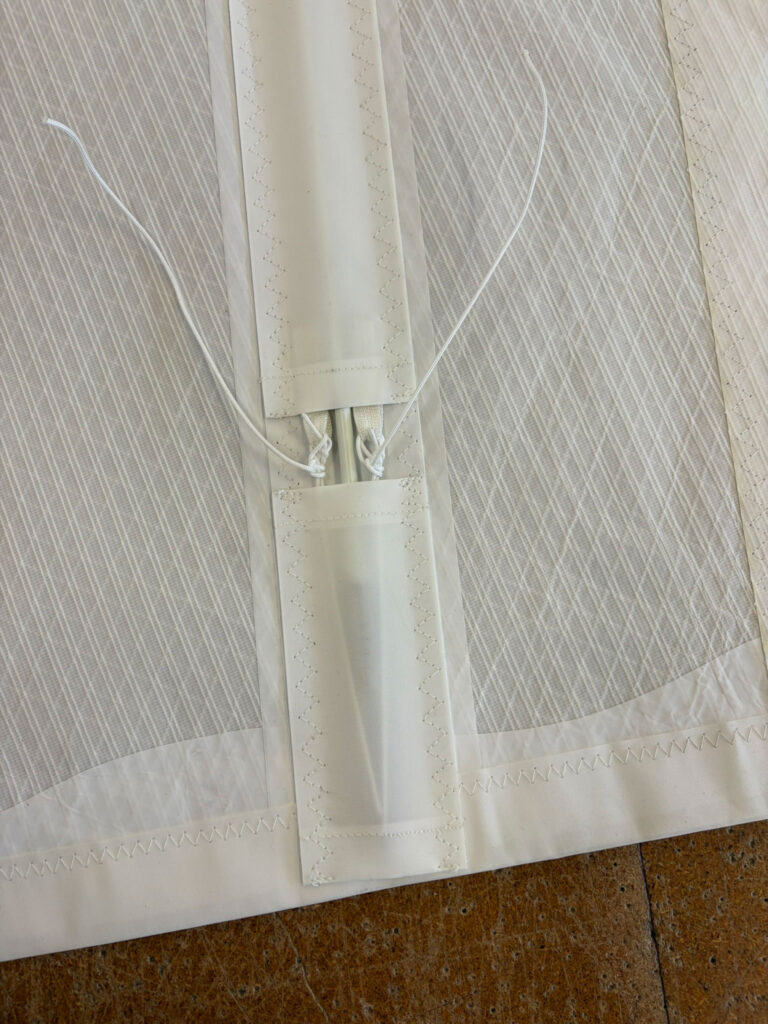
Step 5: Secure and Tidy Pocket
You can now secure the lashing by tying it through the webbing loops with two or three hitches. Using the batten loader, push the remaining line back into the pocket so everything sits flat and flush. Repeat this process for each batten, working methodically from the tack towards the clew.