Step 1: Prepare the Sail and Batten Receptacle
The majority of our full-length batten pockets are luff-loaded, allowing compression cars to be threaded onto the luff via a batten receptacle. If conditions allow, the easiest method is to hoist the mainsail and load one batten at a time from the top down as the sail is fed into the mast track. Alternatively, battens can be fitted on deck or from a stable pontoon before hoisting.
You will require:
- T15 Torx (star) key for the batten box
- Phillips Screwdriver
- Gloves (recommended if contract battens have been supplied)
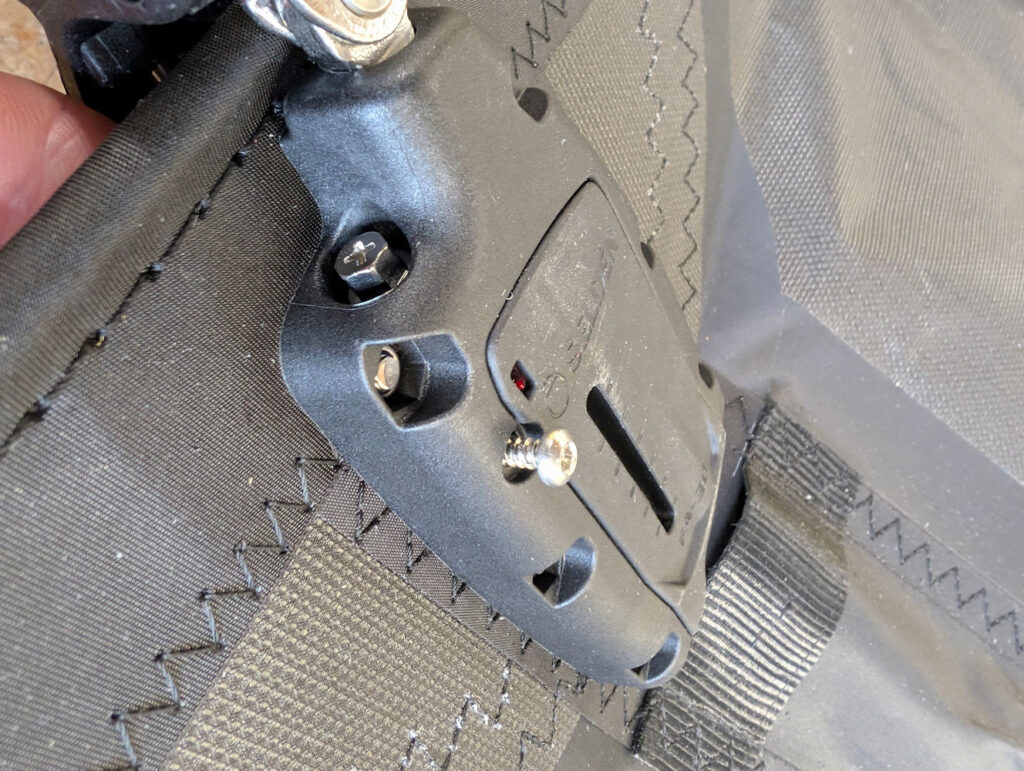
To prepare the receptacle, you will need to loosen the Torx screw on the top of the batten box by approximately 10mm, which will allow the cover to slide open.
Step 2: Insert the Batten
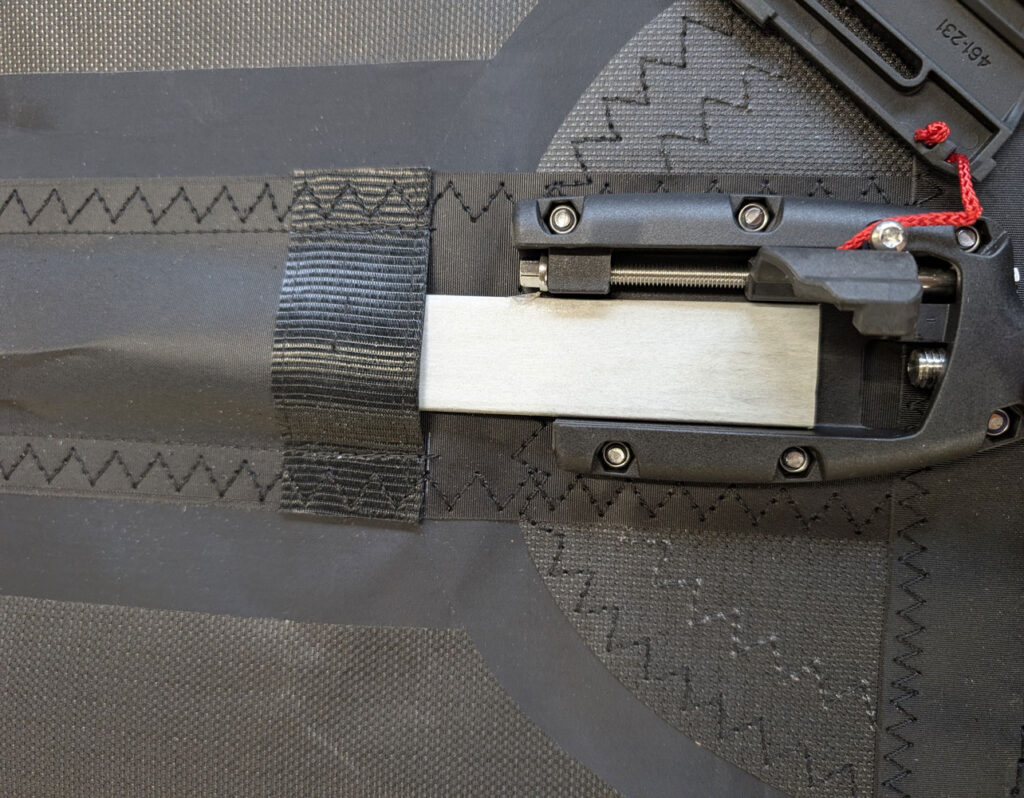
Slide the top cover aft to expose the batten collar. Take the corresponding batten for that pocket. If one end is fitted with a rubber protective sleeve, insert this end first – pushing the batten towards the leech. Push the batten fully home until it seats neatly inside the box at the inboard end.
Step 3: Closing the Batten Receptacle
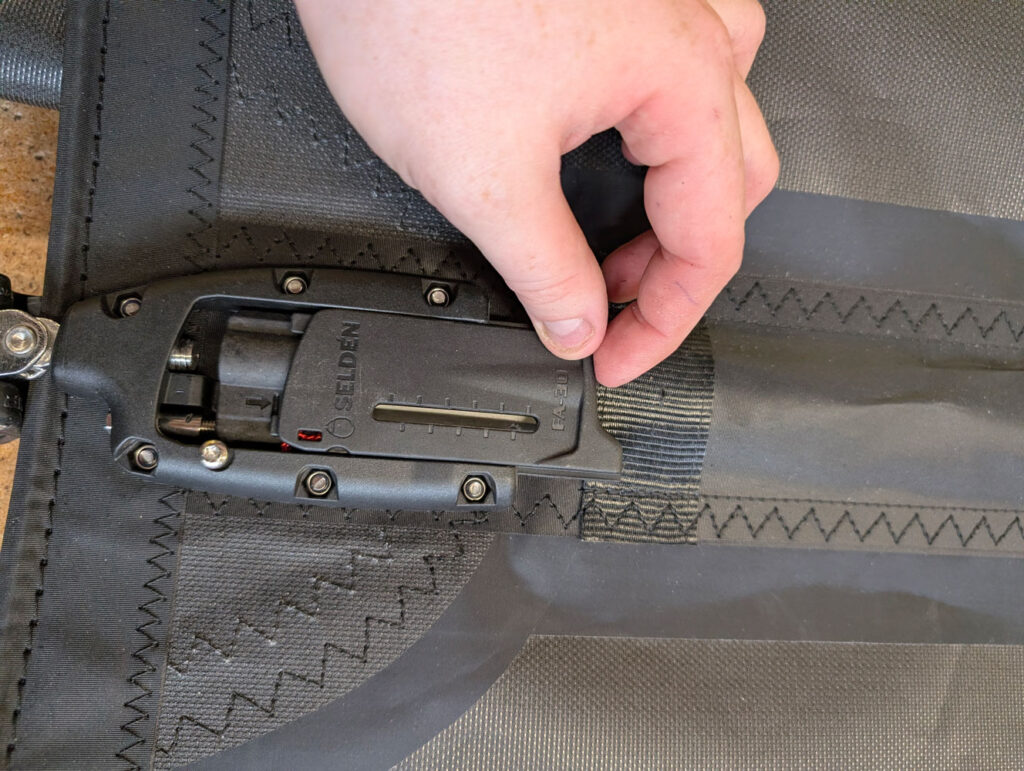
Once correctly located; push the adjustable collar down into position. The batten should sit naturally within the pocket without excessive force. Once you have pushed the adjustable collar down flush, the cover will be able to slide back into place, where you can tighten the screw back down to prevent the cover from sliding out.
Step 4: Adjusting the Batten Tension
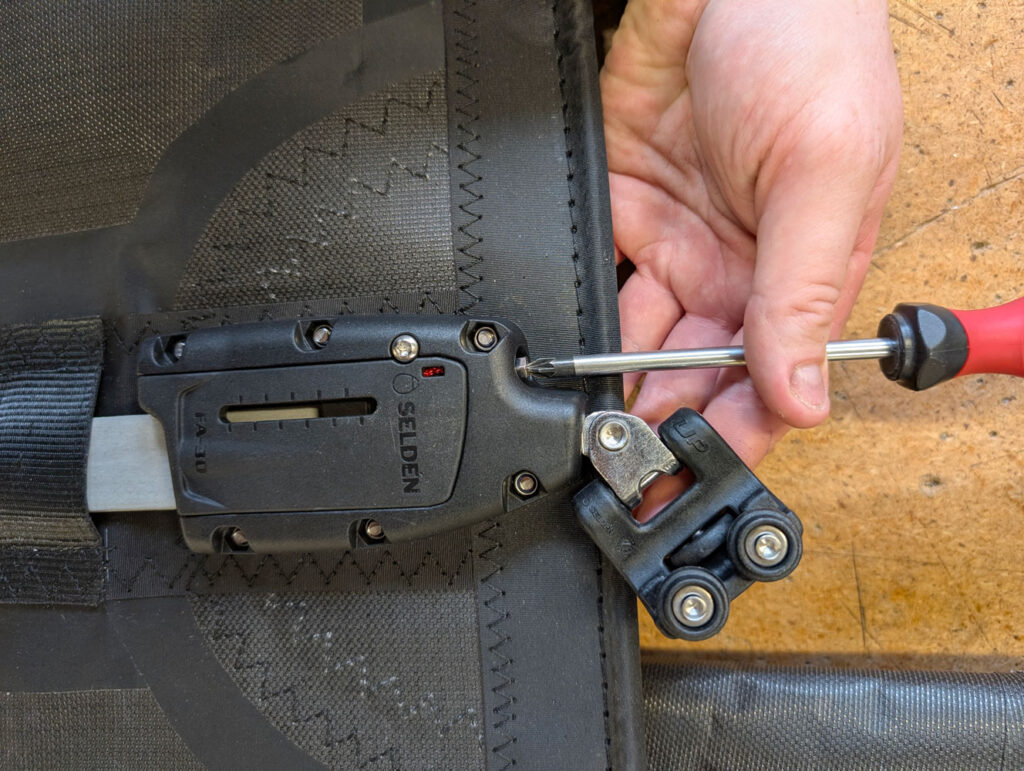
Take a good look at all angles to make sure the batten is sitting appropriately in the box and
using a Phillips screwdriver, you can tension the batten receptacle from the front or the back of the pocket. This allows for easy location when the sail is fitted on or off the mast. Repeat the process for each batten, working methodically from the top of the sail downwards.