There Are Few Better Feelings in Sailing Than ‘NewSail’Day
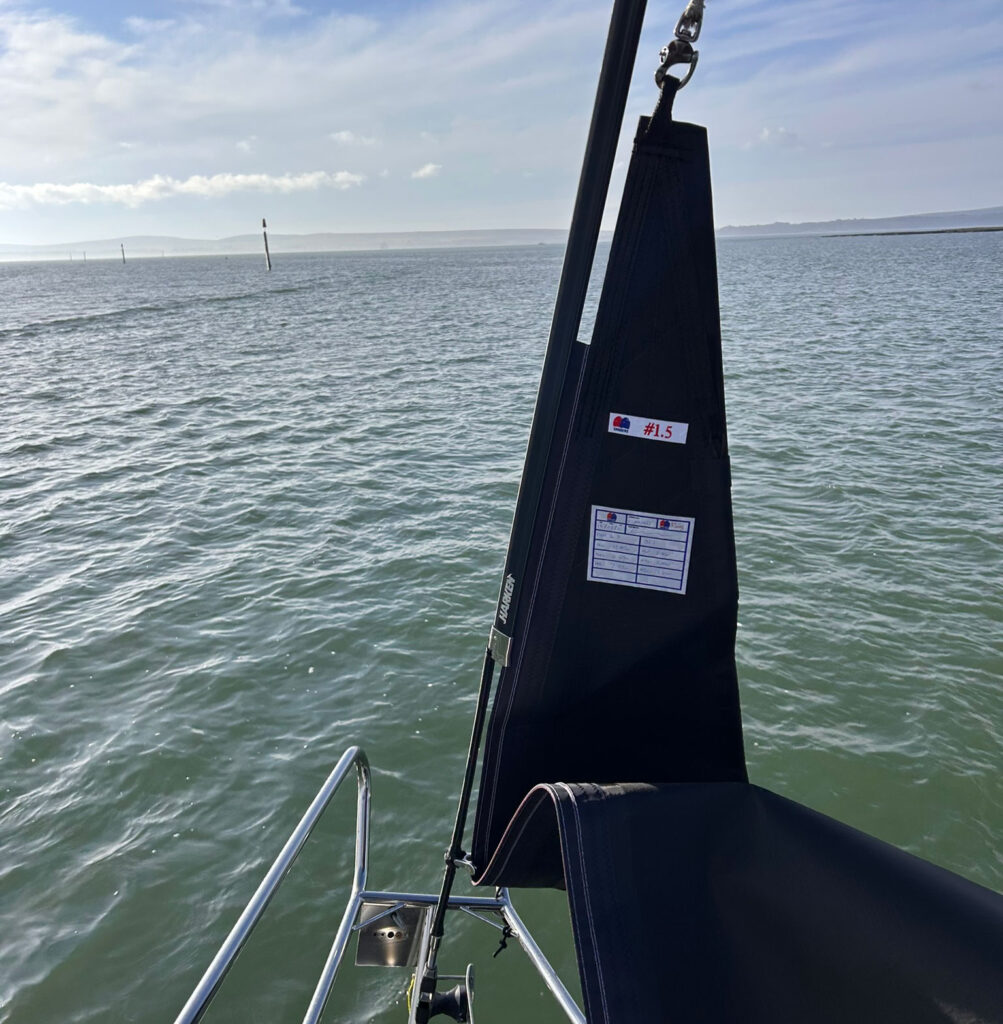
You have just collected your sails. Or they have arrived at the dock in those bright, shiny yellow Sanders bags that glow like treasure chests. You unzip them carefully. That crisp Dacron crackle. That membrane sheen. The stitching is laser-straight. The tell-tales hang perfectly. For a brief, glorious moment you are convinced you might never finish outside the top three again.
This is optimism in sailcloth form.
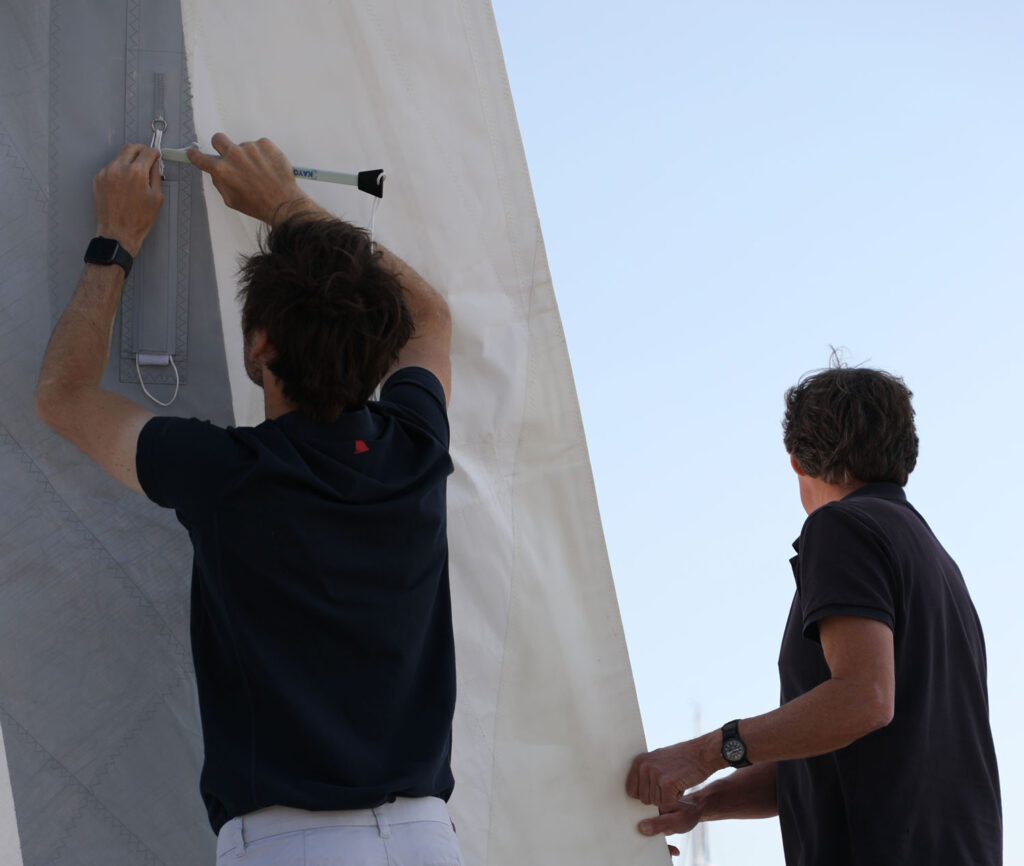
Before anything goes near a halyard, if you have ordered a battened sail; now is the moment to fit your battens properly. If you haven’t already, have a quick read through our Batten Support guide where it walks you through how to fit them correctly so everything is supported exactly as designed. Five careful minutes here makes a real difference once the sail is loaded.
Now comes the important bit: fitting them properly and giving them the right first outing. Modern materials, such as Sanders Filmless Membranes (SFM) do not need to be ‘sailed in’ the way older woven sails once did. They don’t need stretching. They don’t need punishment. They certainly don’t need flogging into submission. But they do benefit from a calm, sensible first sail.
Why?
Because the first outing is not about proving how brave you are. It’s about allowing everything to settle evenly under controlled load, checking fit without chaos, and setting the sail up for a long and happy life. Think of it less as a ‘shakedown’ and more as a polite handshake between sail and boat.
Before You Hoist: 10 Minutes That Could Save You 10 Repairs
Your new sail is immaculate. Your rig? It is essentially a collection of stainless-steel edges waiting for a victim.
Chafe & Snag Patrol
Before that first hoist, go hunting. Tape:
• Split pins
• Cotter pins
• Turnbuckles
• Shroud ends
• Spreader tips
• Stanchion tops
Anything that looks even vaguely sharp. Why? Because new sails are stiff. They don’t yet ‘flow’ around obstacles. If they touch something sharp under load, they won’t politely glide off, but scuff, abrade or worse.
First hoist tip: Mark where the spreader ends touch the sail. That way, if you ever need to add protection patches later, you know exactly where to place them. If you’re unsure how to do this properly, we’ve put together a step-by-step guide in our How To Apply Spreader & Chafe Patches article where we show you exactly how to protect high-wear areas before they become a problem. Prevention is far cheaper than repair.
Run The Ropework (Without Assuming It’s Fine)
Just because it worked with your old sail does not mean it is correct now. Check:
• Halyards are running cleanly
• Reef lines aren’t twisted around something mysterious
• Cars and slides move freely
• The luff tape matches the foil
• The outhaul can fully ease before dropping
Why does this matter?
Because if something binds mid-hoist, the natural instinct is to winch harder. Never winch through a problem. That’s how headboards bend and luff tapes tear.
Fairlead Sanity (Headsails)
Your fairlead position controls how the load is distributed between leech and foot. Too far forward? You overload the leech. Too far aft? You stretch the foot. Neither are good ways to treat something you have just invested in. Start with a sensible base setting and fine-tune once you’re sailing steadily – not while bouncing around in 18 knots.
Choose “friendly conditions” for the first outing
For your first hoist, aim for:
- Calm sea state
- Steady breeze (not punchy gusts)
- Comfortable wind strength – below the sail’s designed top end
Why? Because flogging and leech flutter are among the quickest ways to shorten sail life, and calm conditions help you trim promptly and load the sail smoothly. Even if your sail is a modern laminate or membrane, starting in lighter airs is still beneficial for a controlled first load-up and an easy fit-check.

First hoist: what “right” looks like (and what to avoid)
Do This
- Hoist smoothly and stop if anything snags (do not “winch through” a problem).
- Use just enough luff tension to remove horizontal wrinkles and do not over-hoist. A vertical wrinkle along the luff can be a sign of too much tension.
- Trim and steer so the sails fill quickly, rather than flapping while you sort yourself out.
- Adjust the leech line only enough to stop flutter. Too much will hook the leech. (And remember: as you sheet harder, leech lines often need easing.)
Do Not Do This
- Do not let it flog to ‘stretch it in’. That is an expensive myth. Lots of sail care guidance specifically warns against drying or “bedding in” by hoisting and letting the sail flog.
- Do not motor upwind with sails flapping, but bear away or drop them.
Tacks & Gybes: The Spreader Trap
New sails are grippy. They have not learned how to politely slide past your spreaders yet. Golden rule for headsails is to ease the leeward sheet early in the tack. If you leave it on too long, the leech hooks the spreader tip and loads up aggressively. That is how leeches get damaged. If you do hook one: Don’t panic. Slow the turn. Ease. Re-sheet smoothly. But ideally? Avoid it entirely by easing earlier than you think you need.
Reef Early (Even on Day One)
A new sail needs time. Most guidance is simple: use the sail within its designed wind range, and reef as soon as conditions demand it. For mainsails, avoid long periods of luffing while reefing – keep it controlled and minimise flogging. This is especially true on that first sail, when you are still confirming halyard marks, reef-line lengths, lead positions and how everything behaves under load.
The Sanders Fit Check
On your first outing (in calm conditions), take 5 minutes to check:
- Chafe points: spreader tips, shrouds, lifelines, vang, lazy jacks, batten ends. (Cover and patch early – prevention is everything.)
- Halyard mark: note the hoist position that gives correct shape without over-tension.
- Sheet leads: confirm tell-tales break evenly and the leech is not over-loaded.
- Furling/drum alignment (if applicable): smooth furl, no bunching, correct clew height.
Snap a few photos: side-on shape photos are golden for future trim advice.
After Sailing: The Unexciting, but Crucial Bit
- Dry sails properly before stowing for longer periods; avoid leaving them damp.
- Store to avoid hard creases and roll or flake loosely where possible, and do not store under high outhaul or luff tension.
- Reduce unnecessary UV exposure when not sailing (covers matter).
Final Thought: Enjoy the Moment
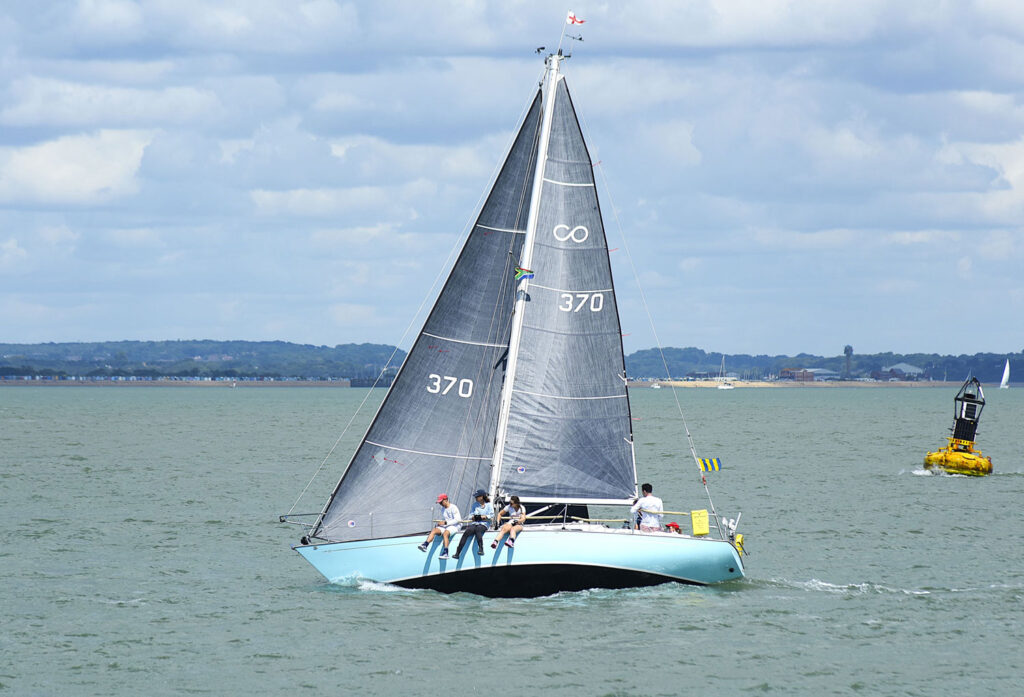
New sails should feel exciting. Take them out in friendly conditions, keep the loads smooth, reef early, avoid flogging, and treat that first sail as a calm ‘handshake’ between sail and boat. Do that, and you will get the best combination of performance, shape retention, and lifespan from day one. And when you do, we would genuinely love to see it. If you grab a photo or short video of your new Sanders sails in action – first hoist, first tack, first race. Please send it over or tag us on social media. There is nothing we enjoy more than seeing our sails doing exactly what they were built to do. After all, they look far better on the water than they ever did in the yellow bag.